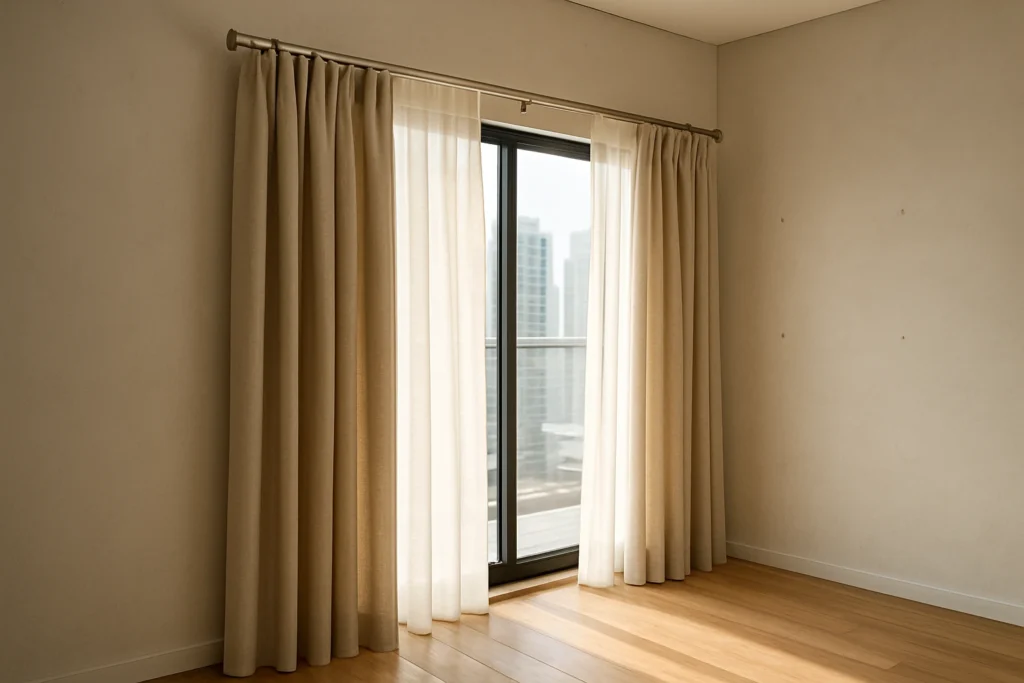
Installing a curtain rod starts with measuring the window and choosing the right brackets, anchors and rod for the curtain weight. Mark the bracket positions carefully, use suitable wall anchors or plugs for your wall type, mount each bracket level, then hang the rod and check alignment and smooth movement. A slow, measured approach reduces mistakes and keeps the rod secure for years.
Key Statistics
- Average curtain rod bracket spacing for standard windows: 30 to 48 inches between supports.
- Common mounting height above window frame: 4 to 8 inches for a balanced look and full light blockage.
- Typical anchor load capacities: plastic expansion plug 20 to 50 lb, metal toggle 120 to 250 lb, masonry sleeve 60 to 150 lb.
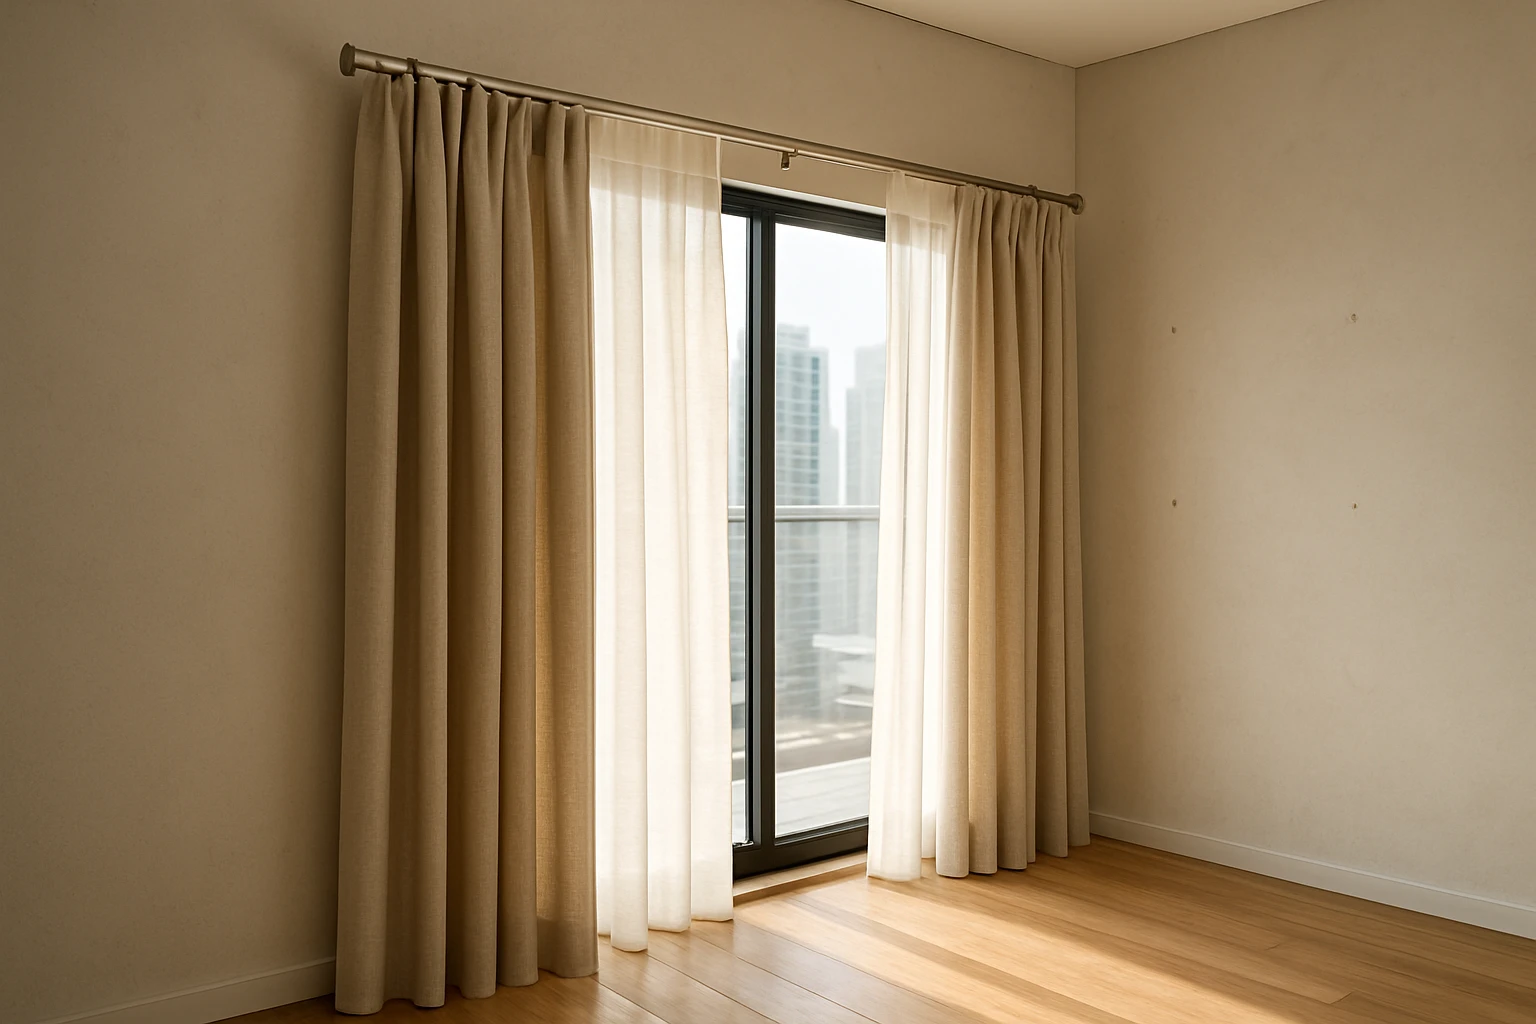
In this guide, Floorlands.ae walks you through each step so you can install curtain rod safely and neatly, whether you have a small flat window or a wide bay. Read each section and use the photos and tables to pick the right parts for your wall type and curtain style.
Tools and Materials You Need
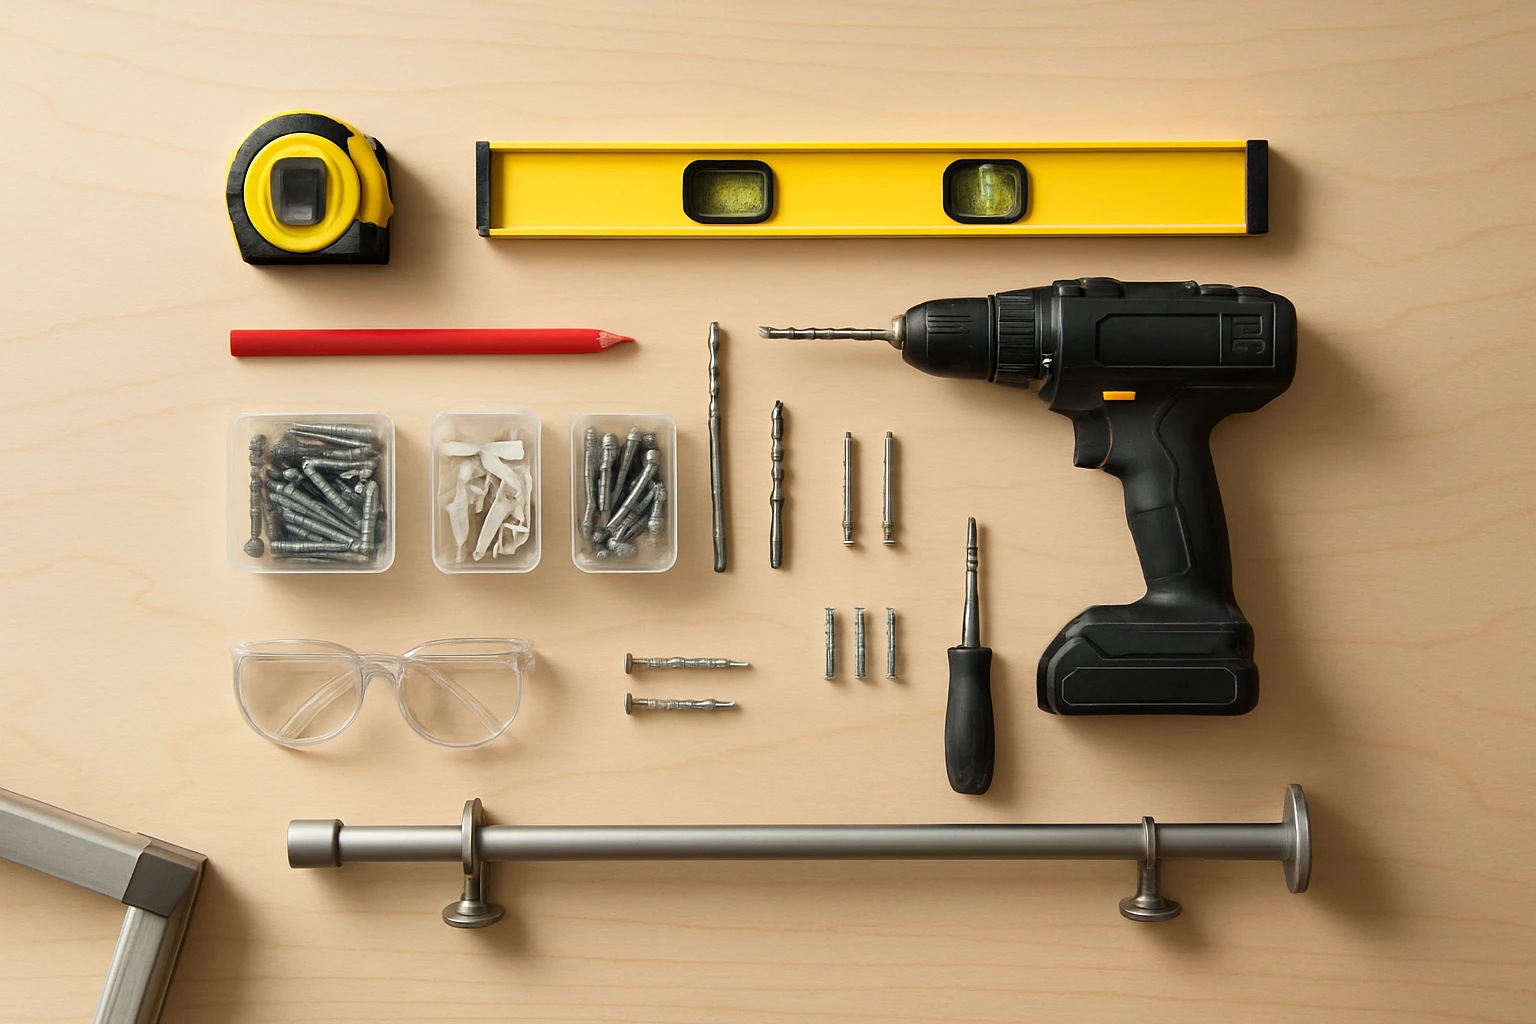
Before you start, gather tools and materials so the job goes smoothly and you do not have to stop mid task. Use the checklist below and add any special parts your curtain set might need.
What to Expect from Each Tool
A basic drill will handle most jobs. Use masonry bits for brick or tile and wood bits for timber frames. A spirit level keeps brackets straight. A stud finder locates wood framing when you want the strongest fix. Missing just one small tool is what slows most DIY installs, so double check the list before you start.
Tool Checklist:
- Tape measure (at least 10 feet)
- Pencil and masking tape for marking
- Spirit level or laser level
- Power drill and bits for wall type
- Screwdriver or impact driver
- Ladder or step stool
- Stud finder (optional but helpful)
Material Checklist:
- Curtain rod sized for window width and weight
- Brackets for the rod style and curtain type
- Screws matching the bracket holes
- Wall anchors suitable for your wall type
- Wall protectors or pads to avoid paint scuffs
Which Curtain Rod Type Works Best
Pick a rod that fits your curtain type and window. For ring or clip curtains choose a pole with rings. For eyelet curtains pick a smooth pole with the right diameter so the eyelets run freely. If you are unsure about style or weight, check curtain pages like Eyelet Curtain and Blackout Curtain for product details and recommendations.
Measure and Mark for a Secure Fit
Correct measuring and marking decides how the curtains look and how well the rod performs, so take your time and recheck numbers.
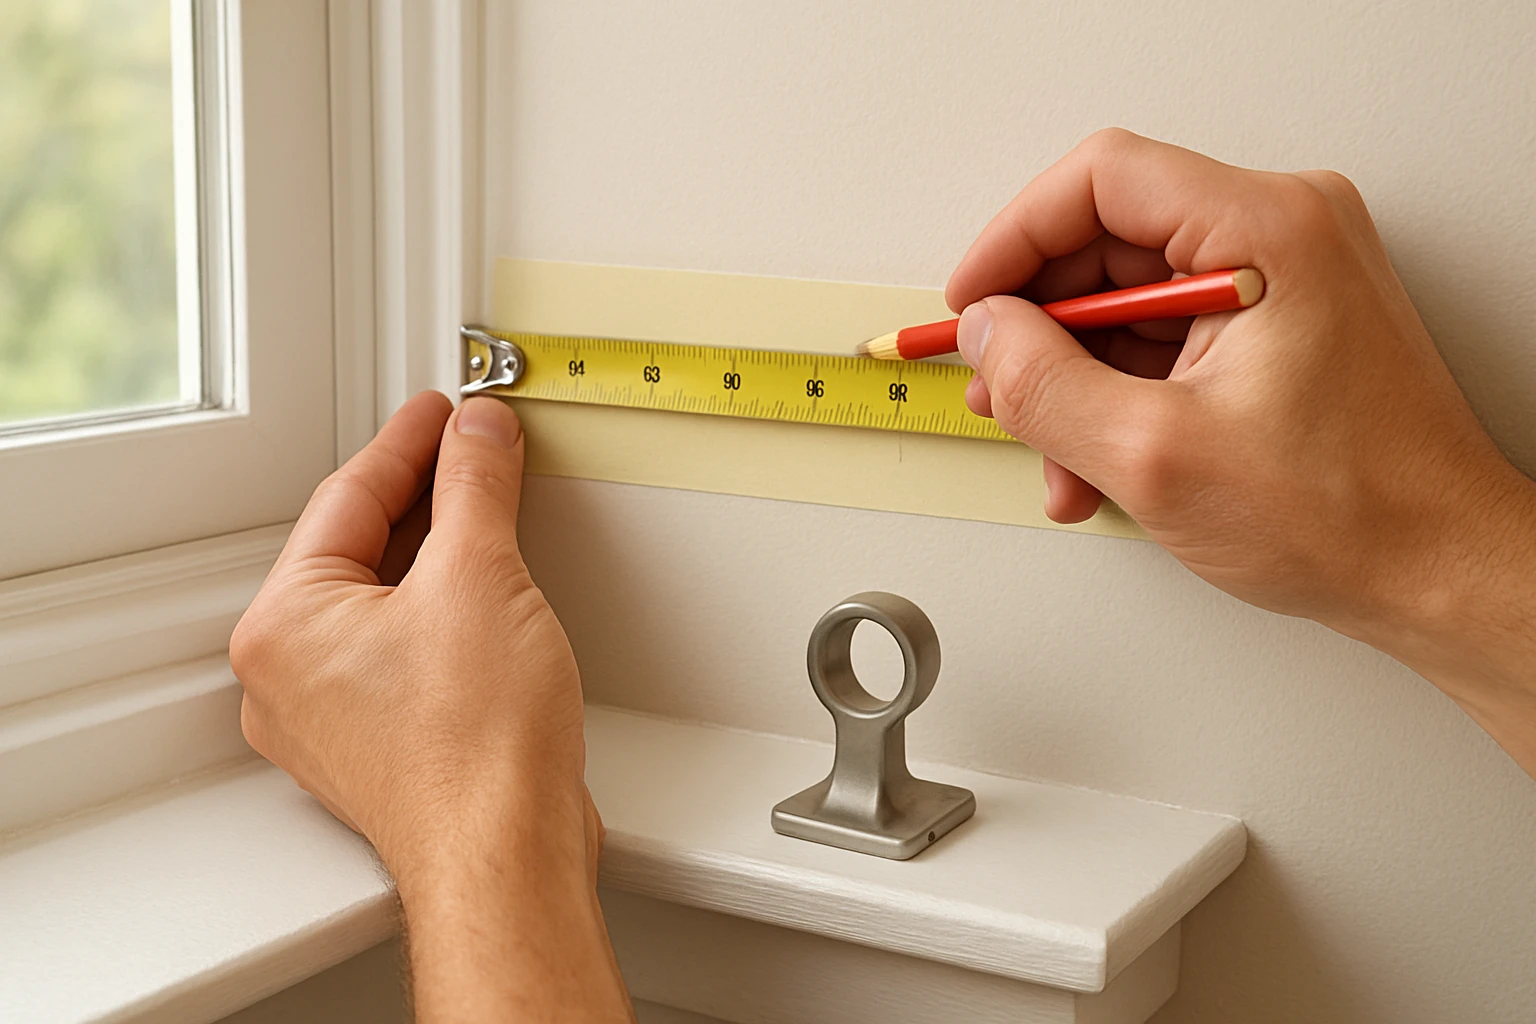
Measure Twice Before You Drill
Start by measuring the window width from trim to trim. Add the side overhang you want so curtains clear the frame when open. A common rule is to add 6 to 12 inches on each side for a neat stack back. For height, decide if the rod sits close to the top of the trim or higher toward the ceiling for a taller look. Most installations place the rod 4 to 8 inches above the frame.
Sizing Guidelines:
- Standard single window: window width + 12 to 24 inches total for side overlap.
- Wide bay or floor to ceiling: measure each section and add overlap at joints.
- Rod diameter: let eyelet or ring slide freely; common pole sizes are 19 mm, 25 mm and 28 mm.
Marking Bracket Positions
Mark the centerline of the window and then mark the bracket positions outward from center. Use a level to make sure both bracket heights match. If your rod is long, add a middle support bracket and mark that position as well. A common bracket spacing table is below.
| Window Width (in) | Bracket Count | Typical Spacing (in) |
|---|---|---|
| Up to 48 | 2 | 24 to 48 (single center between) |
| 49 to 84 | 3 | End supports + 1 center at equal distances |
| Over 84 | 4 or more | Support every 30 to 48 inches |
Install Brackets and Anchors
Choosing the right anchor is critical, especially for heavy curtains or when you are working with plaster, brick or drywall. Match the anchor to both wall type and expected load.
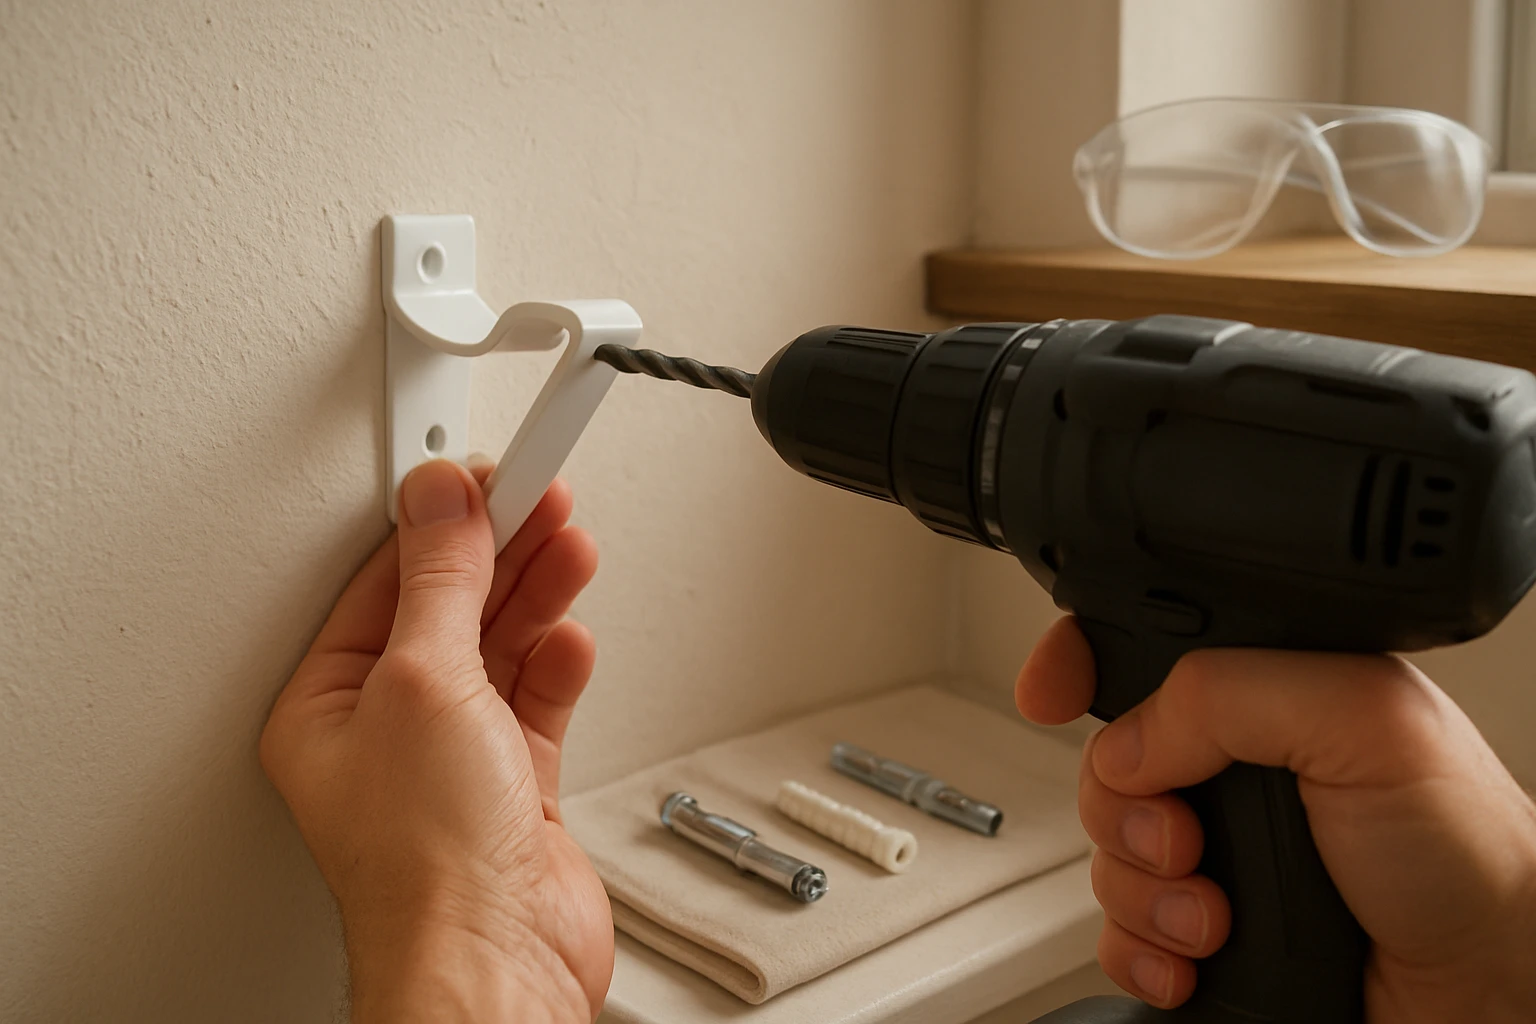
Pick the Right Wall Anchor
- For solid brick or concrete, use masonry anchors or sleeve anchors.
- For hollow walls or plasterboard, use toggle or metal hollow wall anchors for better pull out strength.
- For brackets that hit a stud, use wood screws directly into the stud for the strongest fix.
| Anchor Type | Best Wall Type | Typical Load Rating (lb) |
|---|---|---|
| Plastic expansion plug | Solid walls, light loads | 20 to 50 |
| Metal toggle anchor | Hollow walls | 75 to 250 |
| Sleeve anchor | Masonry | 60 to 150 |
A common mistake is assuming all anchors work the same. People often pick a cheap plastic plug for heavy blackout curtains and find the rod pulls out. Use a stronger anchor for heavier curtains.
Anchor Tools and Steps:
- Drill the hole at the marked point with the correct bit size for the anchor.
- Clean dust from the hole so the anchor sits flat.
- Insert the anchor and tighten the screw while holding the bracket.
Installing the Bracket
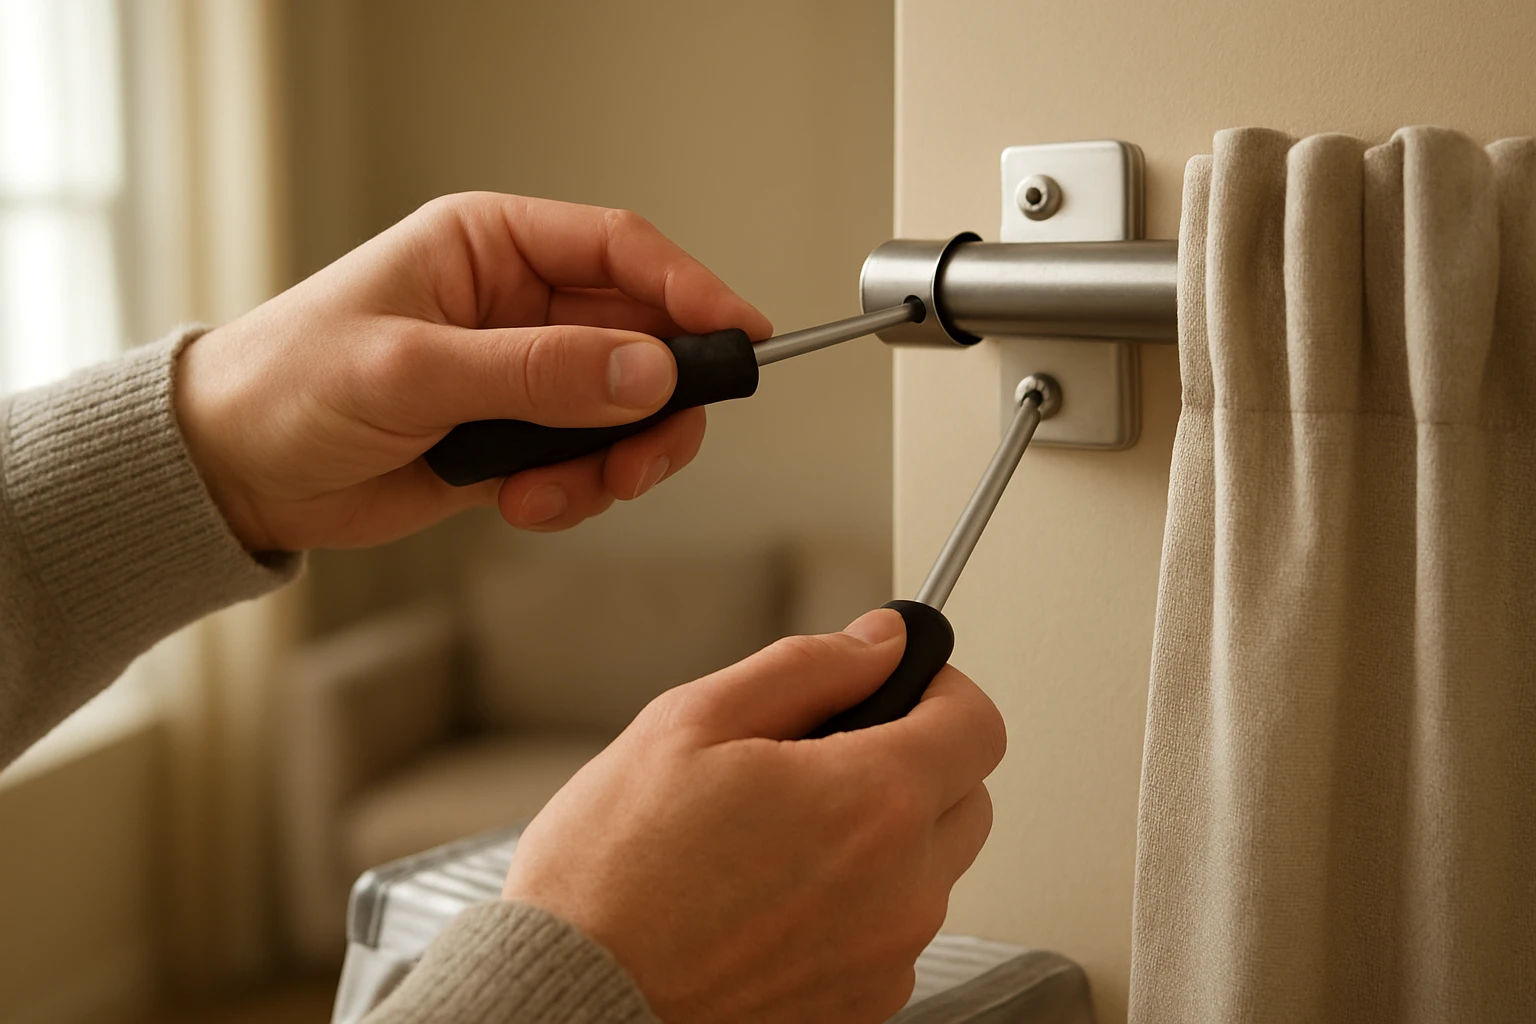
Hold the bracket in place and start screws by hand to check alignment. Use the level again and tighten all screws evenly. If you want a neat finish, use small wall pads or felt under the bracket base to protect the paint.
Hang the Rod and Curtains
After the brackets are secure, assemble the rod if it comes in parts and slide on any rings or curtain carriers. Test the rod without the full curtain weight, then hang the curtains and check movement and alignment.
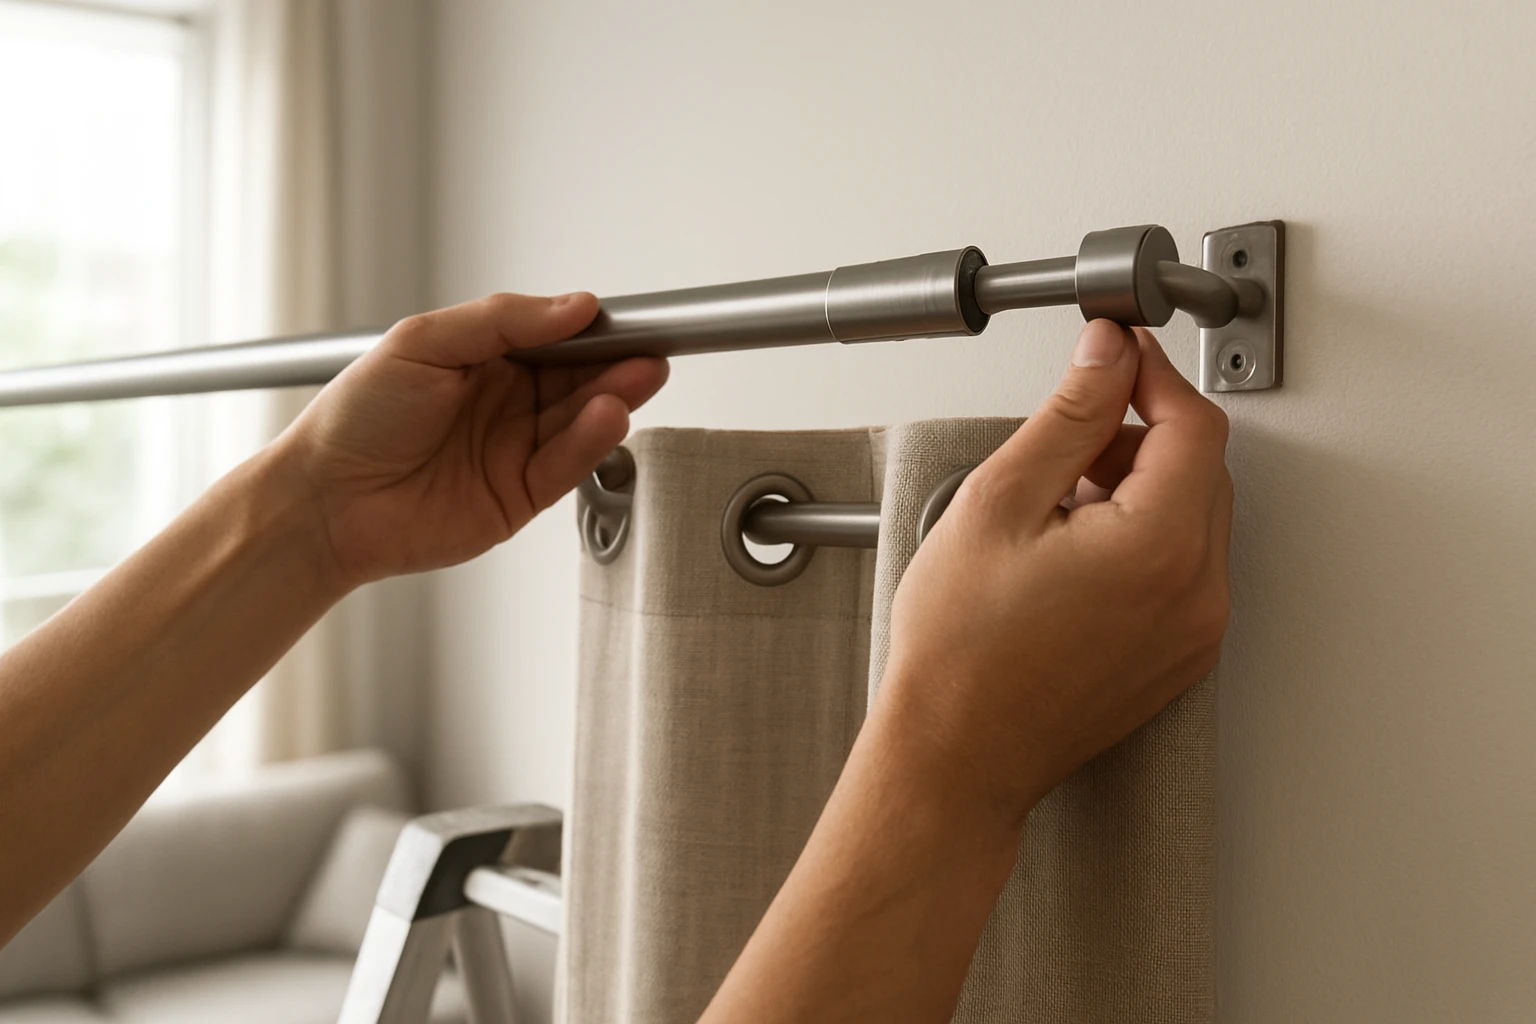
How to Handle Different Curtain Types
- Eyelet curtains slide directly on the pole, so choose a smooth finish rod and allow a little clearance for gliding.
- Curtains on rings or hooks need ring diameter that matches the pole and enough rings for even gathering.
- Heavy blackout curtains need extra support brackets and stronger anchors; test the rod under weight before letting go.
See the product pages for specific pairing tips: Eyelet Curtain for eyelet pairings and Blackout Curtain for heavy lined curtains that often need reinforced support.
Final Alignment and Movement Check
Pull the curtain fully open and closed several times to check for rubbing or catching. Adjust bracket screws if the rod shifts. If the curtain bunches to one side, check that the rod is not bowed and that center supports are in the right place.
Common Problems and How to Fix Them
Small issues can look like big problems if you do not know what to look for. Here are common faults and quick fixes so the rod stays safe and neat.
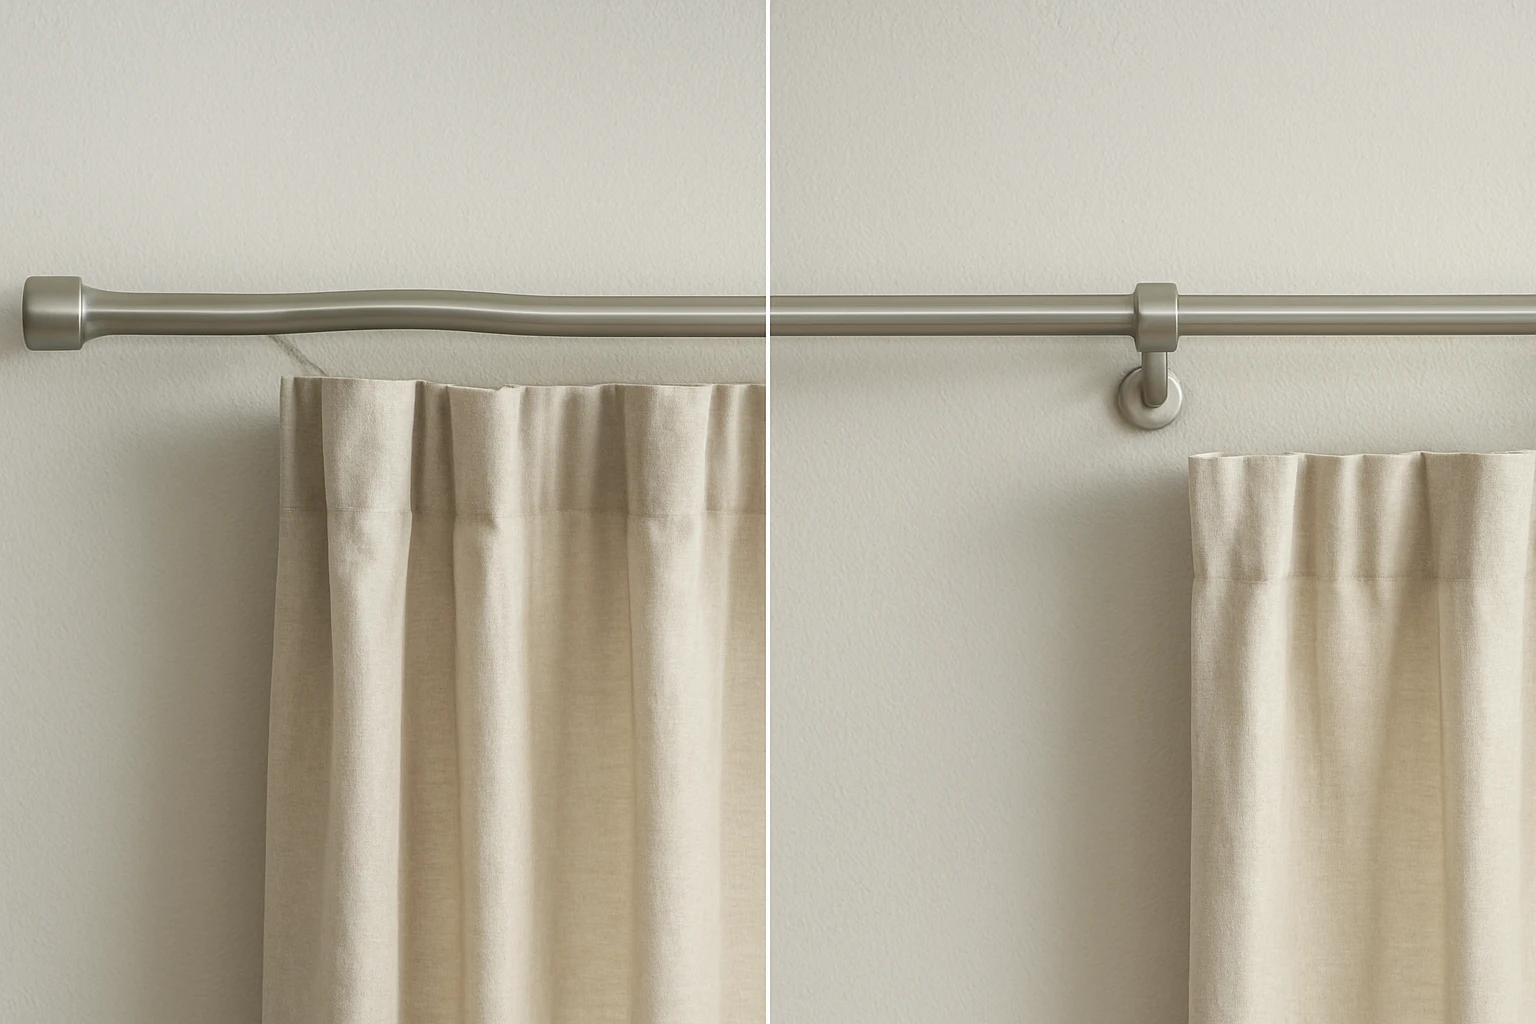
Sagging Rod
Sagging usually means the rod is too long for the bracket spacing or the center support is missing. Add a center bracket or move supports nearer the center to reduce the unsupported span.
Rod Pulling Out of Wall
This is usually the wrong anchor type for the wall. Remove the bracket and fit a metal toggle or sleeve anchor that matches the wall material and expected load. For heavy drapery, fit at least one bracket into a stud when possible.
Curtains Catch on Brackets
Make sure brackets have the right projection so rings or eyelets clear the wall. Replace shallow projection brackets with a deeper model and test curtain movement before final tightening.
Uneven Curtain Height
If one side hangs lower, loosen the screws, relevel the bracket and retighten while checking with the spirit level. Small adjustments while the screw is half in will let the bracket pivot to the exact height.
Maintenance and Final Checks
After installation, check hardware after two weeks and again after three months to tighten any screws that may have eased. This keeps the fitting secure and prevents wall damage over time.
Seasonal Care
Curtain movement, dust and small shifts can cause screws to loosen. Inspect the rod and brackets for dust and tightness, and wipe rails or poles to keep sliding smooth. If you use heavy curtains in humid climates, check anchors twice a year.
When to Call a Pro
If the wall is crumbly or you need to run a hidden recessed track, a professional fitter can ensure safety and a clean finish. For custom curtain fittings or complex bay windows consider professional help and see cost guidance in posts like How Much Do Custom Curtains Cost in Dubai? Floor Land Guide.
Quick Reference Tables
| Task | Typical Time | Skill Level |
|---|---|---|
| Measure and mark | 10 to 20 minutes | Beginner |
| Drill and fit anchors | 15 to 30 minutes | Beginner to Intermediate |
| Mount brackets and hang curtain | 20 to 40 minutes | Beginner |
| Wall Type | Best Anchor Choice | Why |
|---|---|---|
| Solid masonry | Sleeve anchor or masonry screw | Strong and reliable in brick or concrete |
| Hollow plasterboard | Metal toggle or hollow wall anchor | Spreads load across cavity for better hold |
| Timber stud | Wood screw into stud | Strongest direct fix |
Final Checklist Before You Finish
- Recheck measurements and symmetry from room center.
- Confirm all screws tightened and anchors set.
- Test curtain motion several times while the rod is loaded.
- Inspect for paint chips and use pads to protect the wall if needed.
A clean, steady installation looks better and lasts longer. If you follow the measuring, anchoring and checking steps here, you should be able to install curtain rod that stays secure and looks balanced for years.
Frequently Asked Questions
What Height Should I Install a Curtain Rod Above the Window?
A common approach is 4 to 8 inches above the window frame for a balanced look, and higher if you want to make the ceiling feel taller. Measure the curtain length to be sure it meets the floor or sill as you prefer.
Which Wall Anchor Should I Use for Heavy Blackout Curtains?
For heavy blackout curtains use metal toggle anchors for hollow walls or sleeve anchors for masonry. If a stud is available use screws directly into the stud for the strongest hold.
How Far Should the Brackets Be Spaced on a Long Curtain Rod?
Support a long rod every 30 to 48 inches. For runs over 84 inches add a center support and consider extra mid supports to prevent sagging.
Can I Install a Curtain Rod on Plaster Walls Without Damage?
Yes, but use the correct anchors for hollow plaster and drill carefully to avoid cracks. Metal toggles work well and spreading the load reduces the chance of plaster damage.
Should I Install the Rod Before or After Hanging Curtains on Rings?
It is usually easier to slide rings or eyelet curtains onto the rod before fixing the rod into the brackets, but for long rods you may prefer to mount brackets first and then assemble the rod in place.