Squeaky floors usually come from loose boards, worn fasteners, or joists rubbing where wood meets wood. Walk the room to find the exact spot, then pick a repair that matches your floor type and how you can access it. The right fix stops the noise without harming the finish.
Key Statistics
- 60 to 70 percent of home floor squeaks start at loose nail or screw connections beneath the finish.
- Installing screw-based fixes or glue blocks can reduce squeaks by over 80 percent in a single session.
- Average DIY repair time per squeak: 20 to 45 minutes depending on access and method.
In this article we explain step-by-step how to fix squeaky floors on common materials and when to call a pro, and the team at Floorlands.ae recommends simple checks before you start so you can pick the right method.
Why Floors Squeak and How to Find the Spot
Floors squeak when parts move that should stay still. Most often the cause is a loose board, a failed fastener, or a joist rubbing. Find the exact board or area before you choose a repair so you do the smallest effective fix.
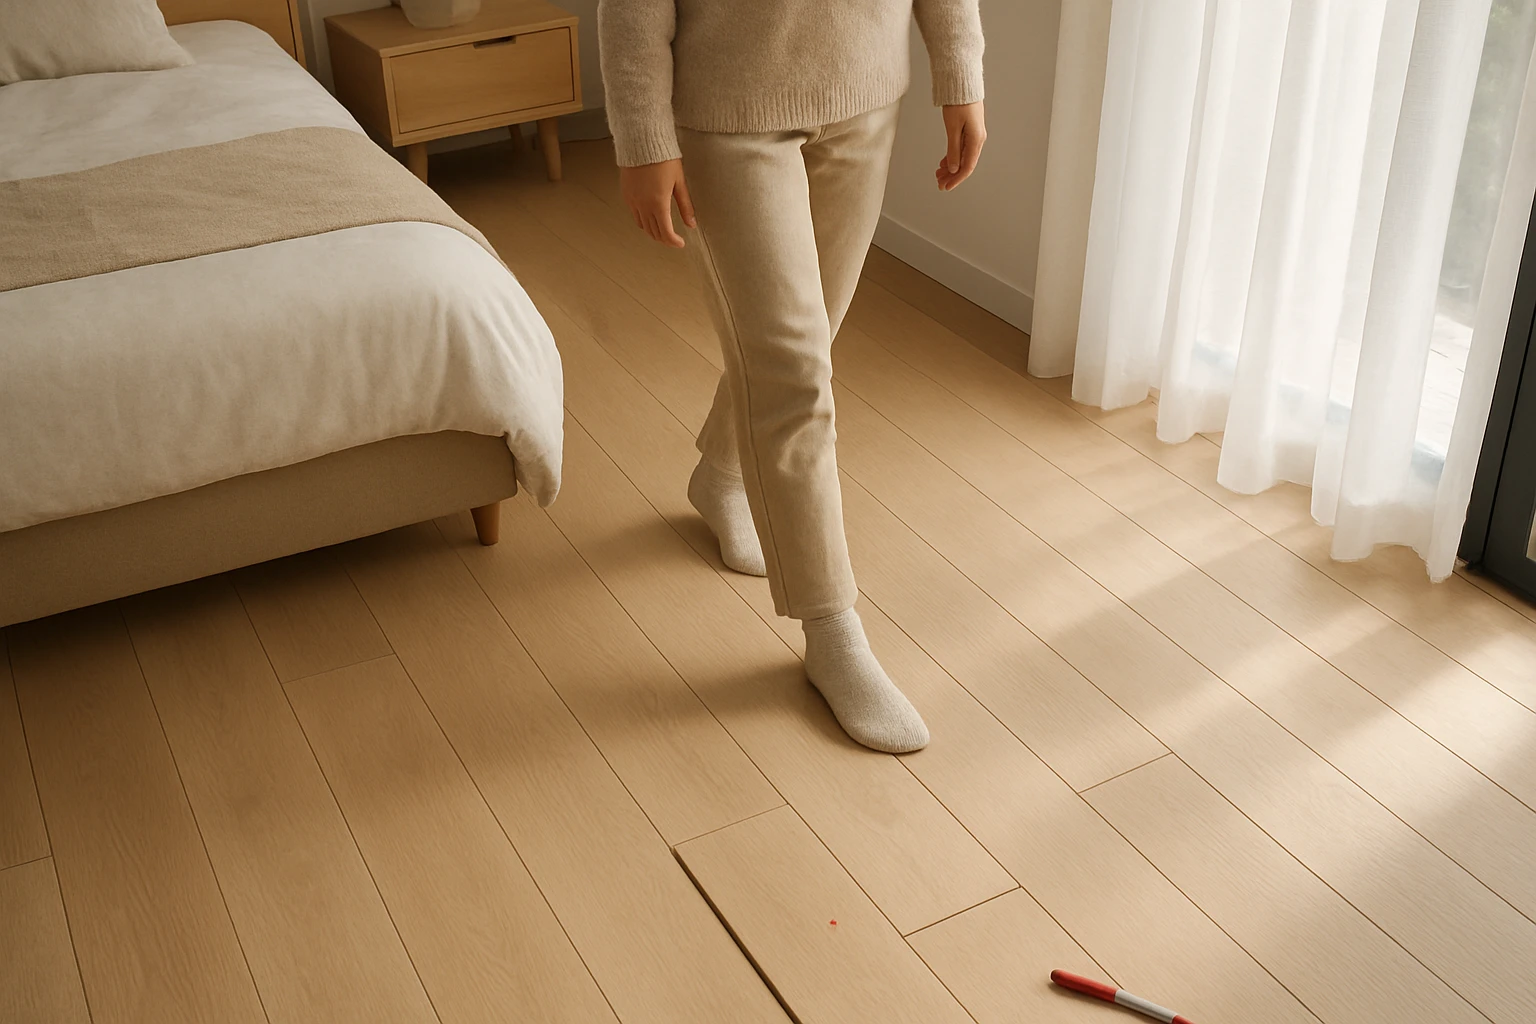
How to Listen and Mark the Source
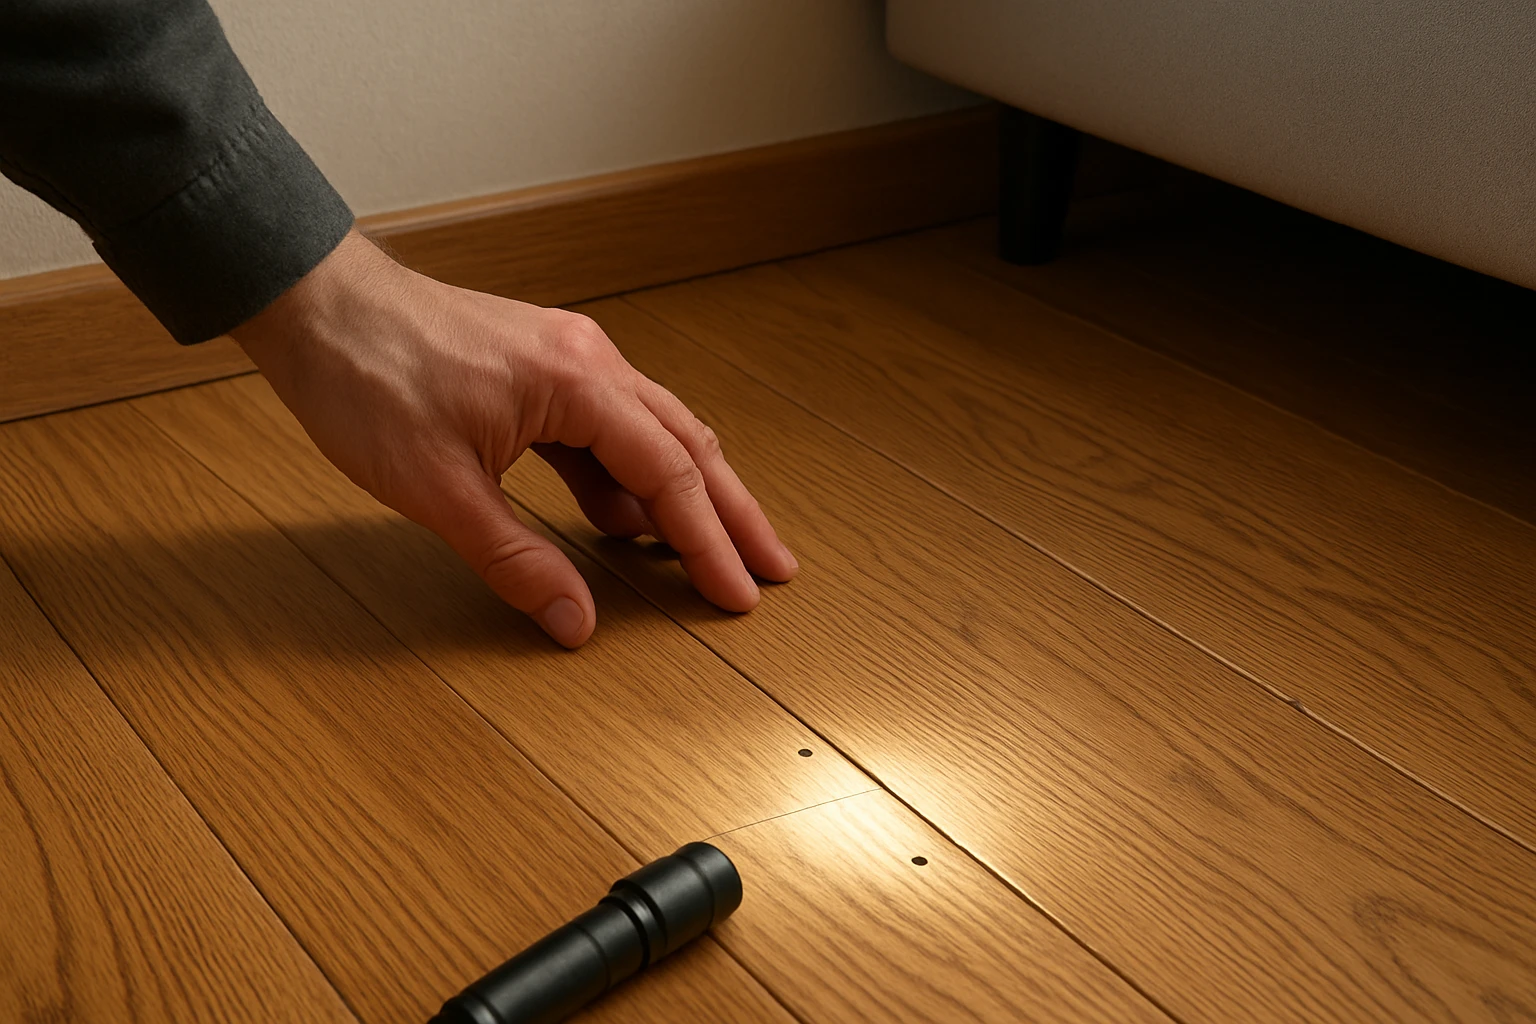
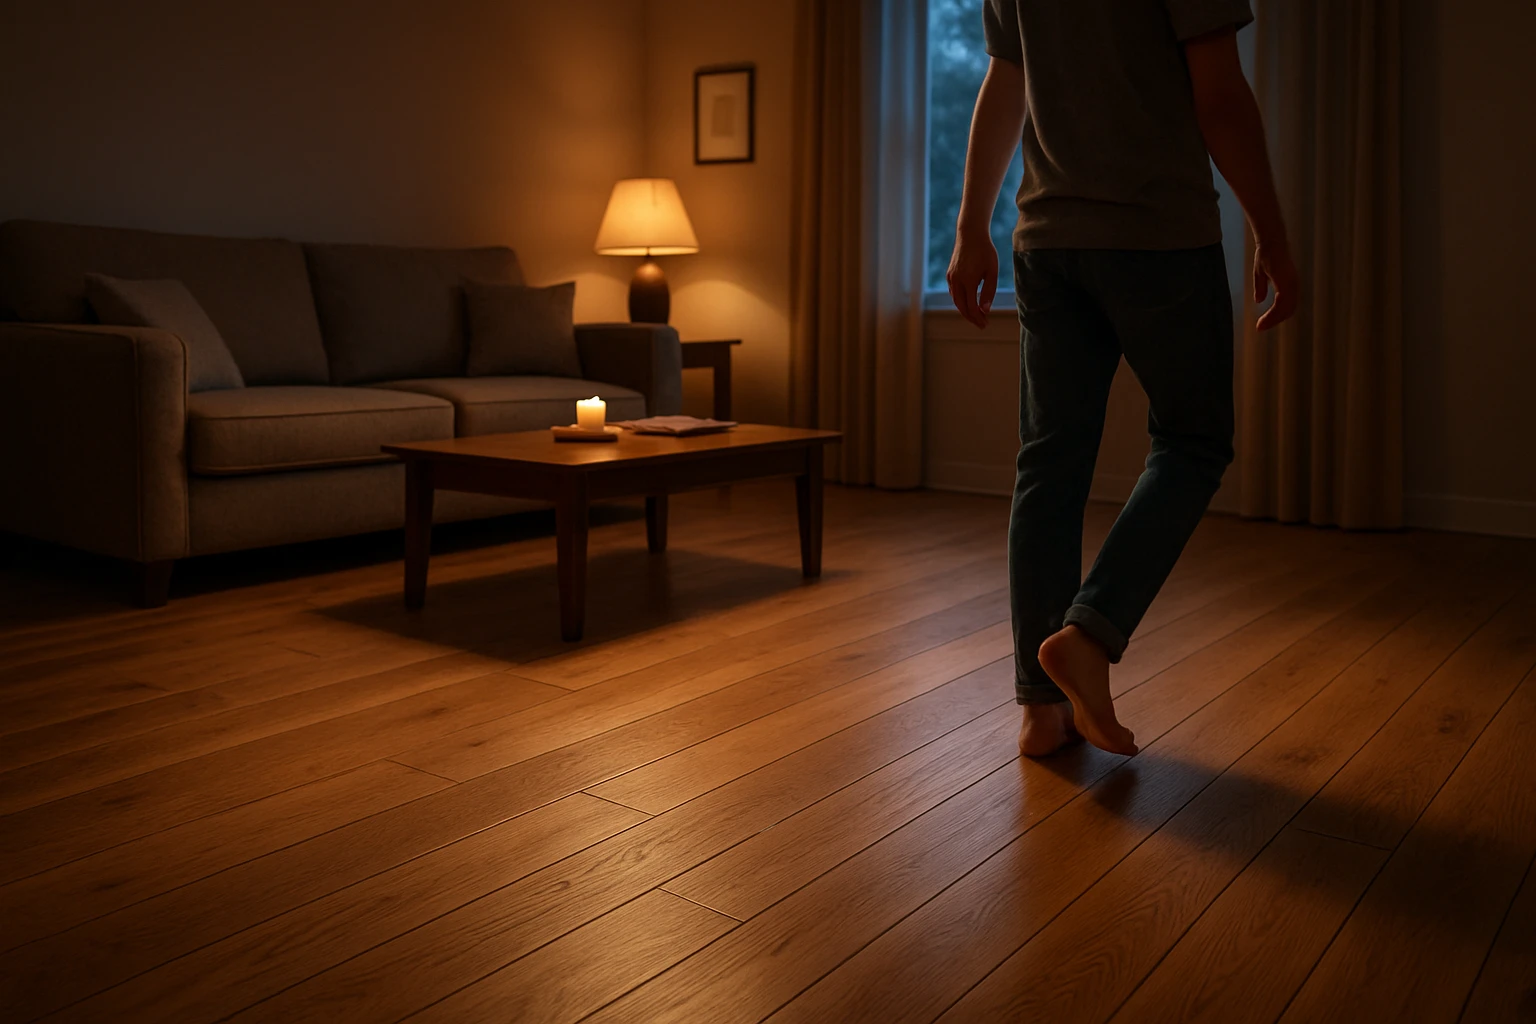
Walk the room slowly while someone else listens from a different spot. Mark every place where the sound is loudest. Then narrow it down to one board by pressing, stepping, or sliding a finger along the seams.
Tool Checklist:
- Soft-soled shoes or socks to reproduce the noise
- Pencil or removable tape to mark spots
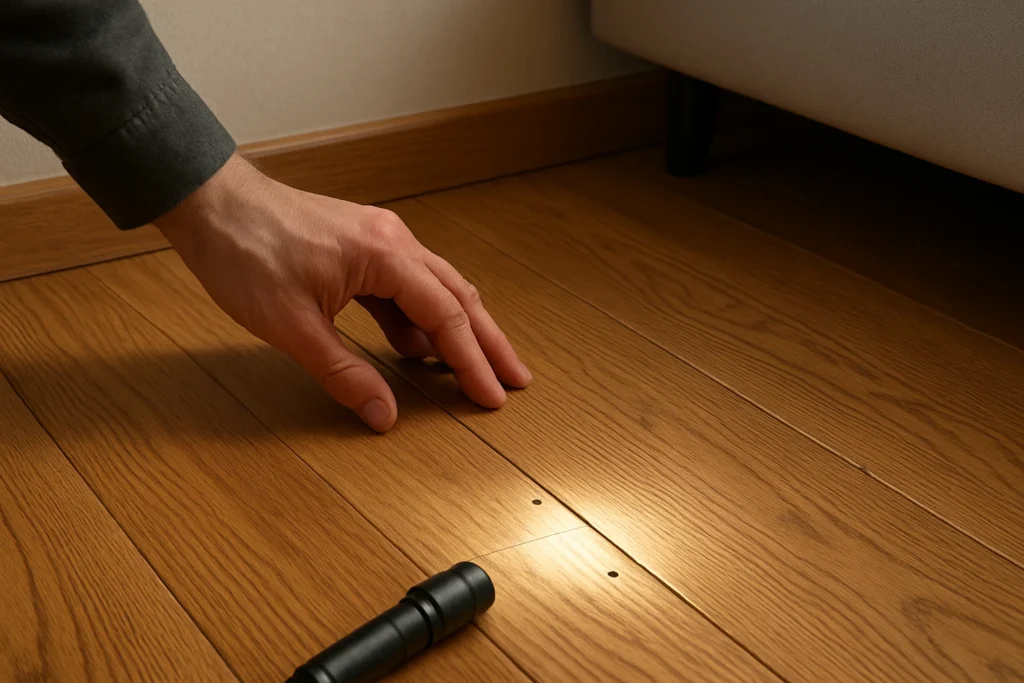
- Small flashlight to inspect seams and joist lines
Common Mistake to Avoid:
A common mistake is fixing the first squeak you hear without mapping nearby ones, which can leave the room still noisy after you work.
Tools and Materials You Need for Most Repairs
Before you begin, gather a basic set of tools and a few material options. The right screw length and a small selection of glue choices will save time and protect the finish.
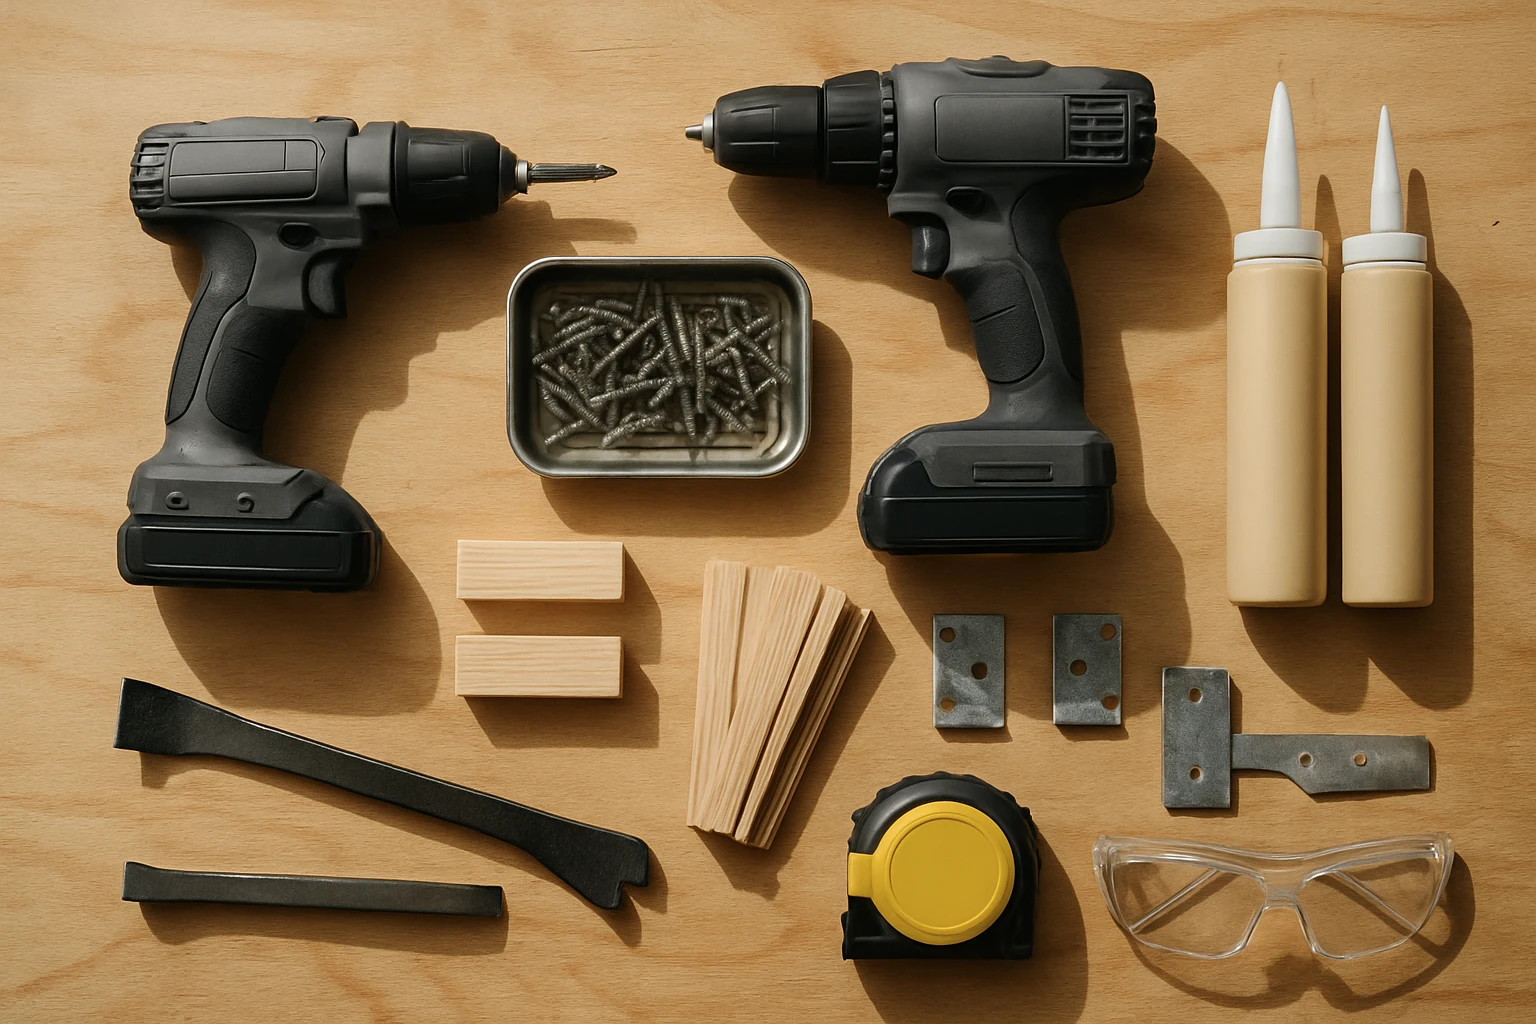
Basic Tool List
- Drill or impact driver with bit set
- Countersink bit for wood screws
- 1 to 2 inch wood screws and 3/4 inch screws for thin boards
- Construction adhesive or construction-grade wood glue
- Shims, thin plywood or wooden glue blocks
- Putty or wood filler that matches your floor
Quick Safety Tips:
- Wear safety glasses and a dust mask when cutting or drilling.
- Turn off heating vents near the work area if using strong adhesives.
Common Fix Methods and When to Use Each One
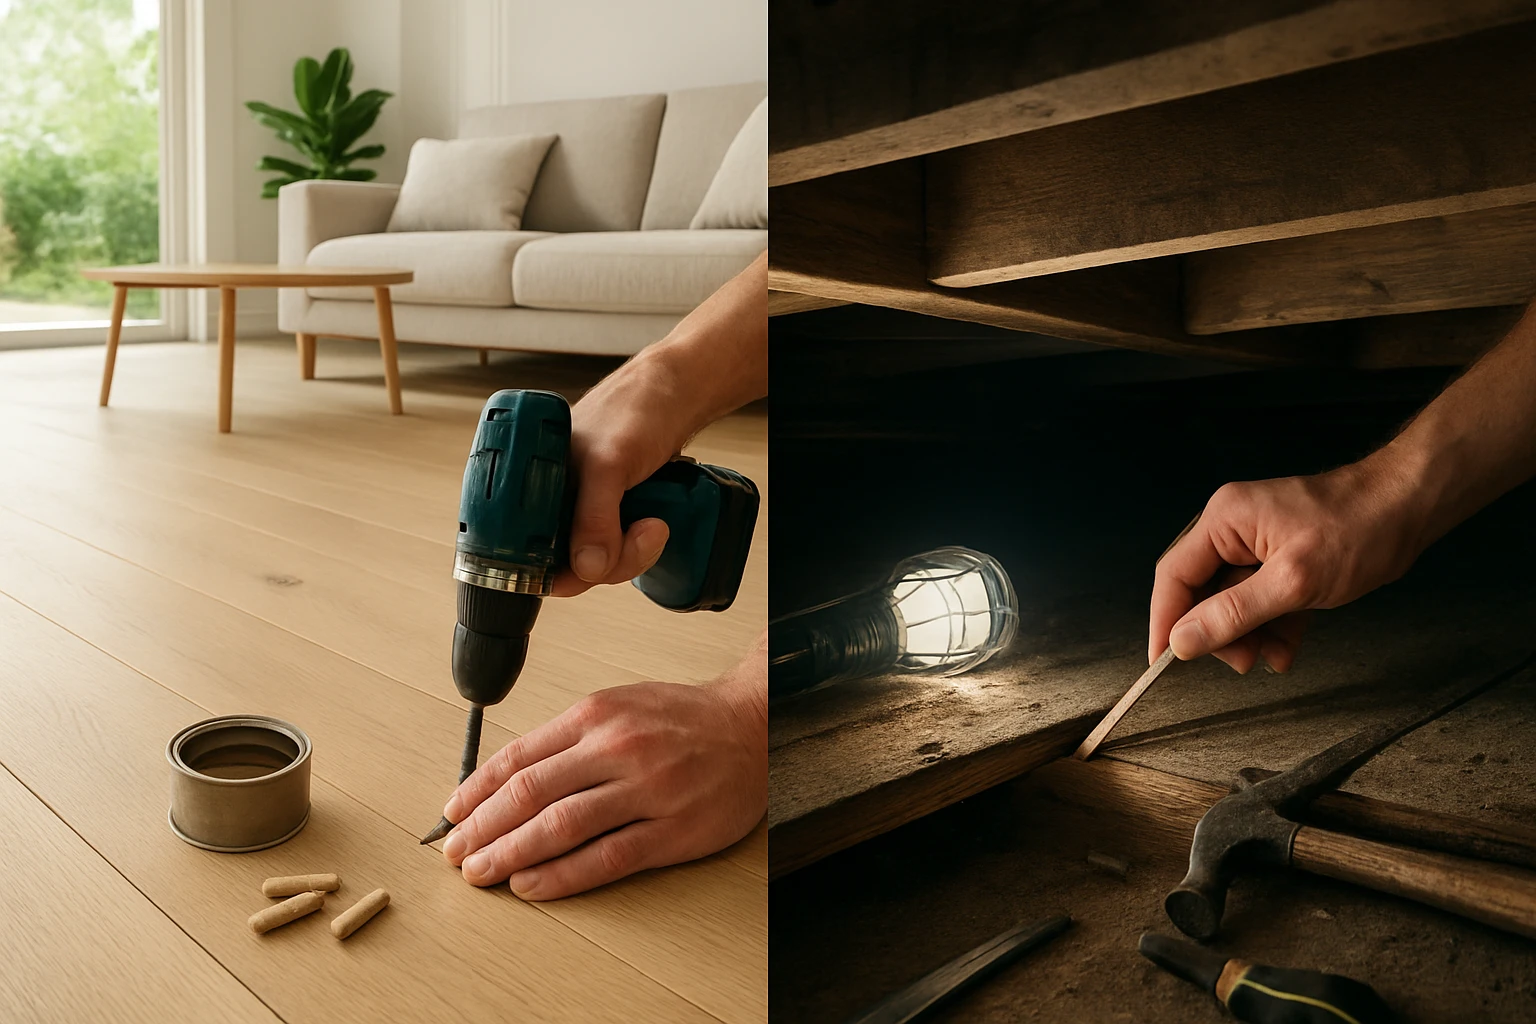
Pick a method based on the floor type, access (above or below), and whether you want a visible repair. Below is a quick comparison to help you choose.
| Method | Best For | Visibility After Repair | Typical Time | Cost (DIY) |
|---|---|---|---|---|
| Screw From Above | Solid wood, thick planks | Moderate, screw heads can be filled and stained | 15–40 min per spot | $5–$15 |
| Plug Or Wood Filler | Visible surface fixes | Good, will need sanding and finish | 30–60 min | $3–$10 |
| From Below With Shims | Subfloor/joist movement, access available | Hidden | 20–60 min | $5–$25 |
| Glue Blocks | Hardwood over long spans, historic floors | Hidden (underboard) | 30–60 min | $7–$20 |
| Squeak-Ender Or Fastener | Engineered floors, plywood subfloor | Hidden or small patch | 20–45 min | $8–$30 |
How to Decide What to Use
- If you can reach the joists from below, shimming or sistering is the cleanest fix because it restores structure.
- If you cannot access below and the board is thick enough, screw from above and hide the head with a plug or filler.
- For engineered or thin boards, choose hidden fasteners that do not split the wear layer.
Fixing from Above: Screwing Down Loose Boards
Screwing from above works well on solid wood and thick laminate where you can safely hide or fill screw heads. This method is fast and gives strong results when done right.
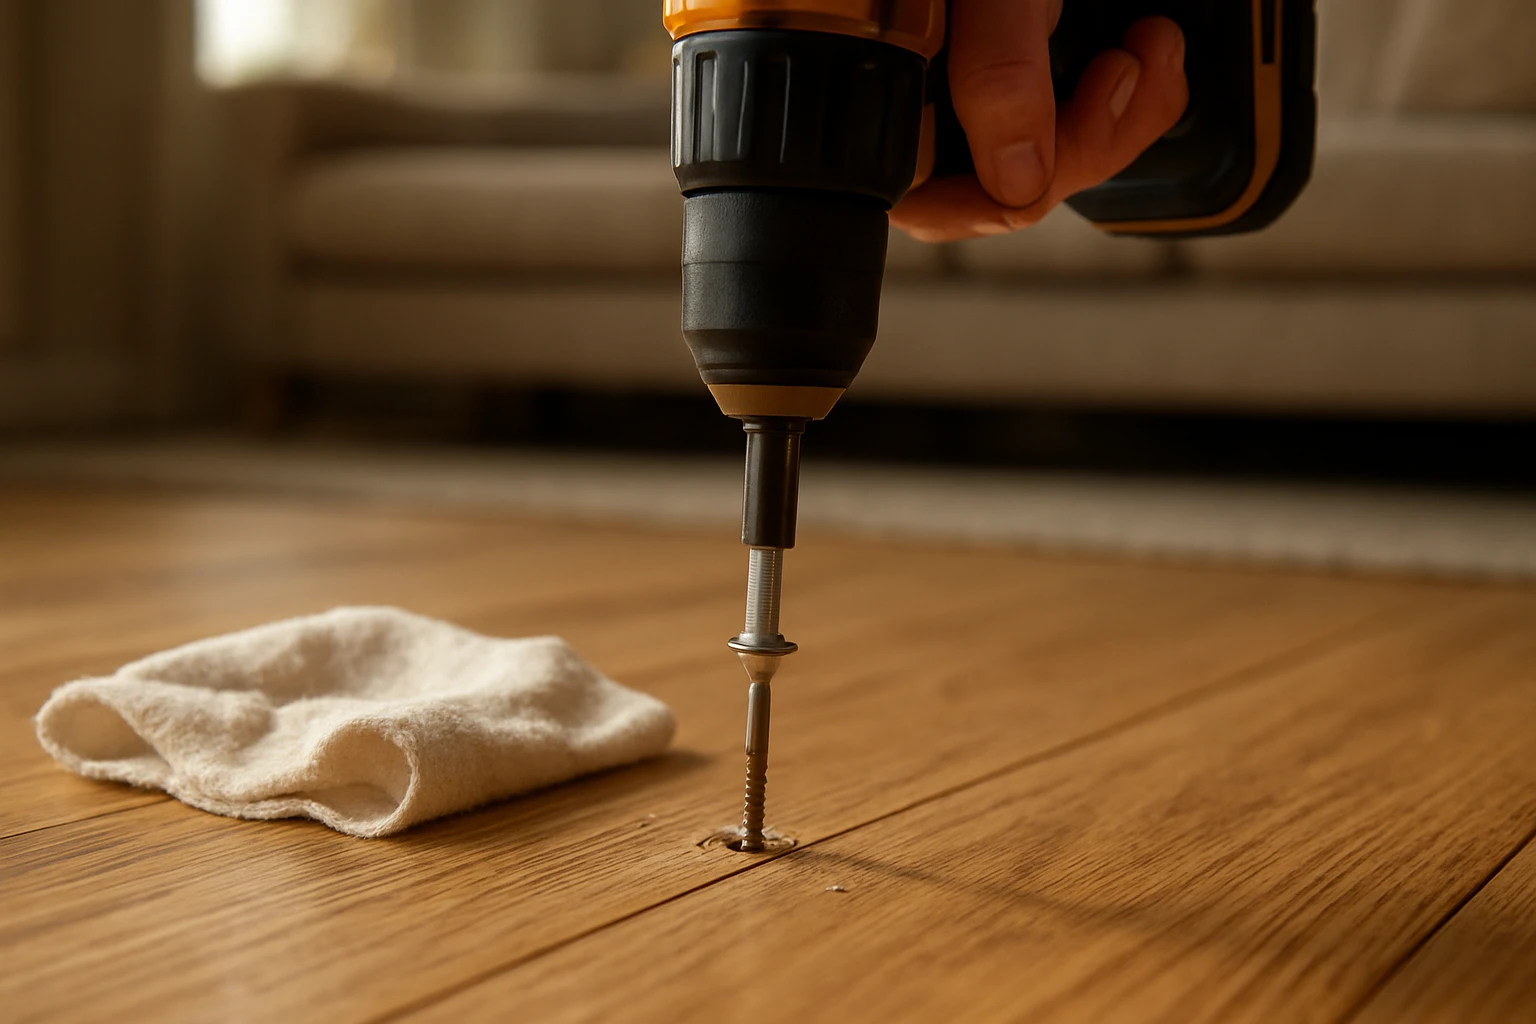
Steps to Screw from Above
- Locate the joist line by measuring from a wall or tapping to find a solid sound.
- Drill a pilot hole through the plank into the joist or subfloor.
- Use a countersink bit so the screw sits below the surface.
- Tighten the screw until the squeak stops and the board is snug.
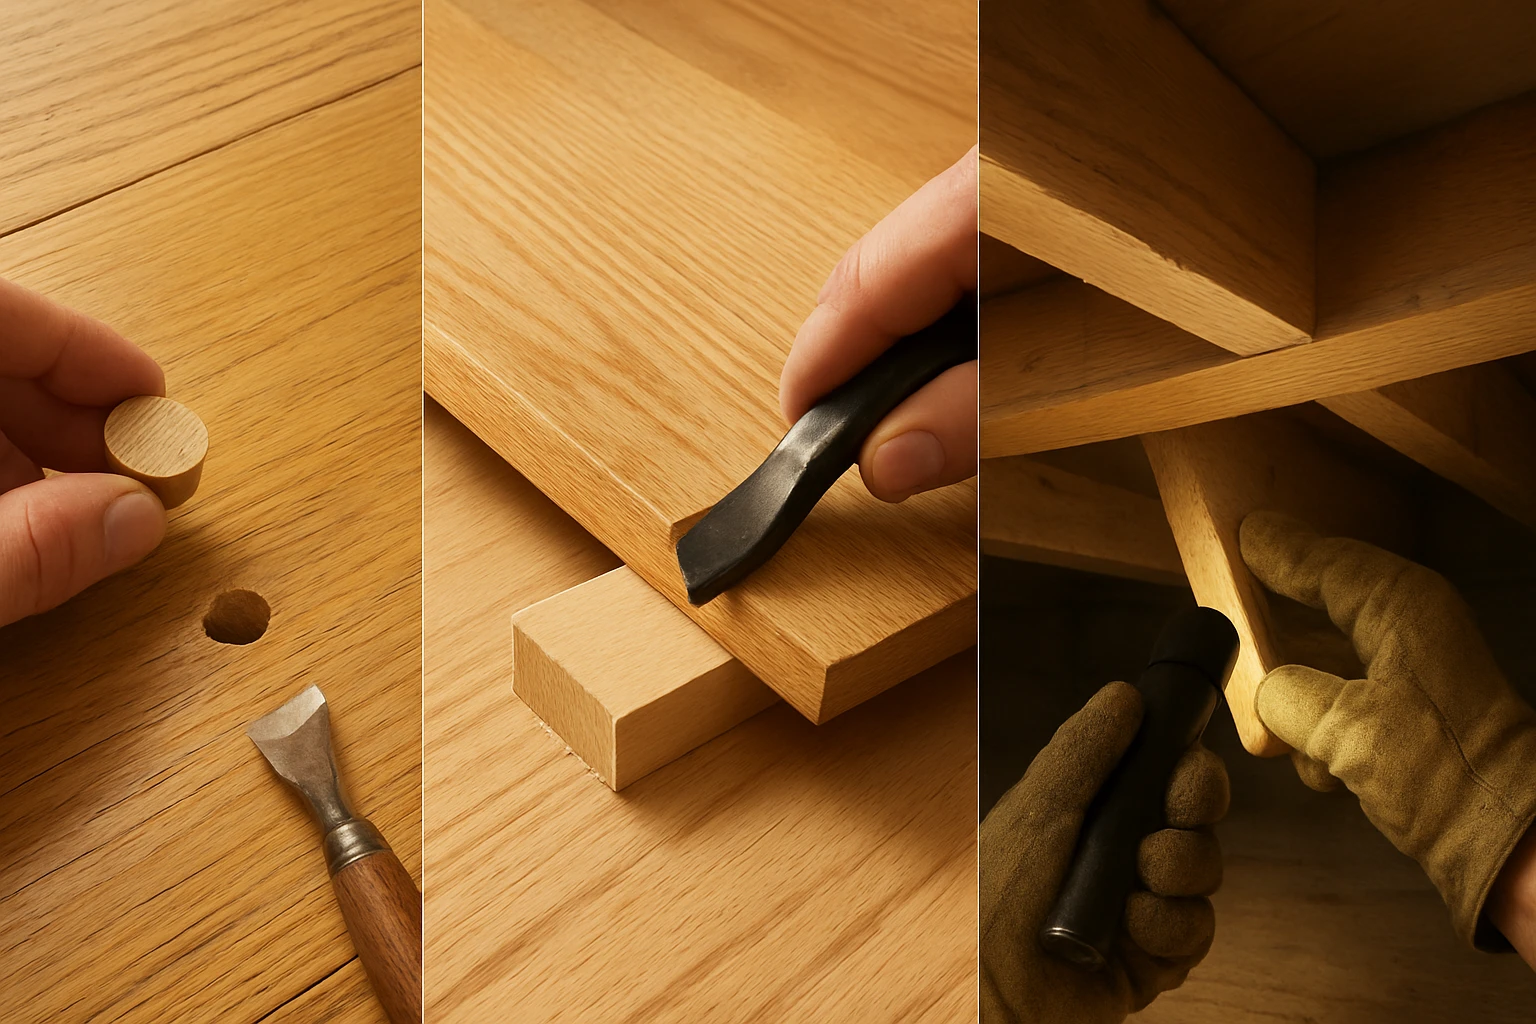
- Fill the hole with a matching wood plug or filler and sand lightly.
Tool Checklist:
- Pilot drill bit and countersink
- 1 1/4 to 2 inch trim-head wood screws
- Wood plugs or filler and matching stain
Fixing from Below: Shims, Sistering, and Joist Work
Working from below is best when you have a crawl space or basement because you can secure the subfloor to the joist without touching the finish above.
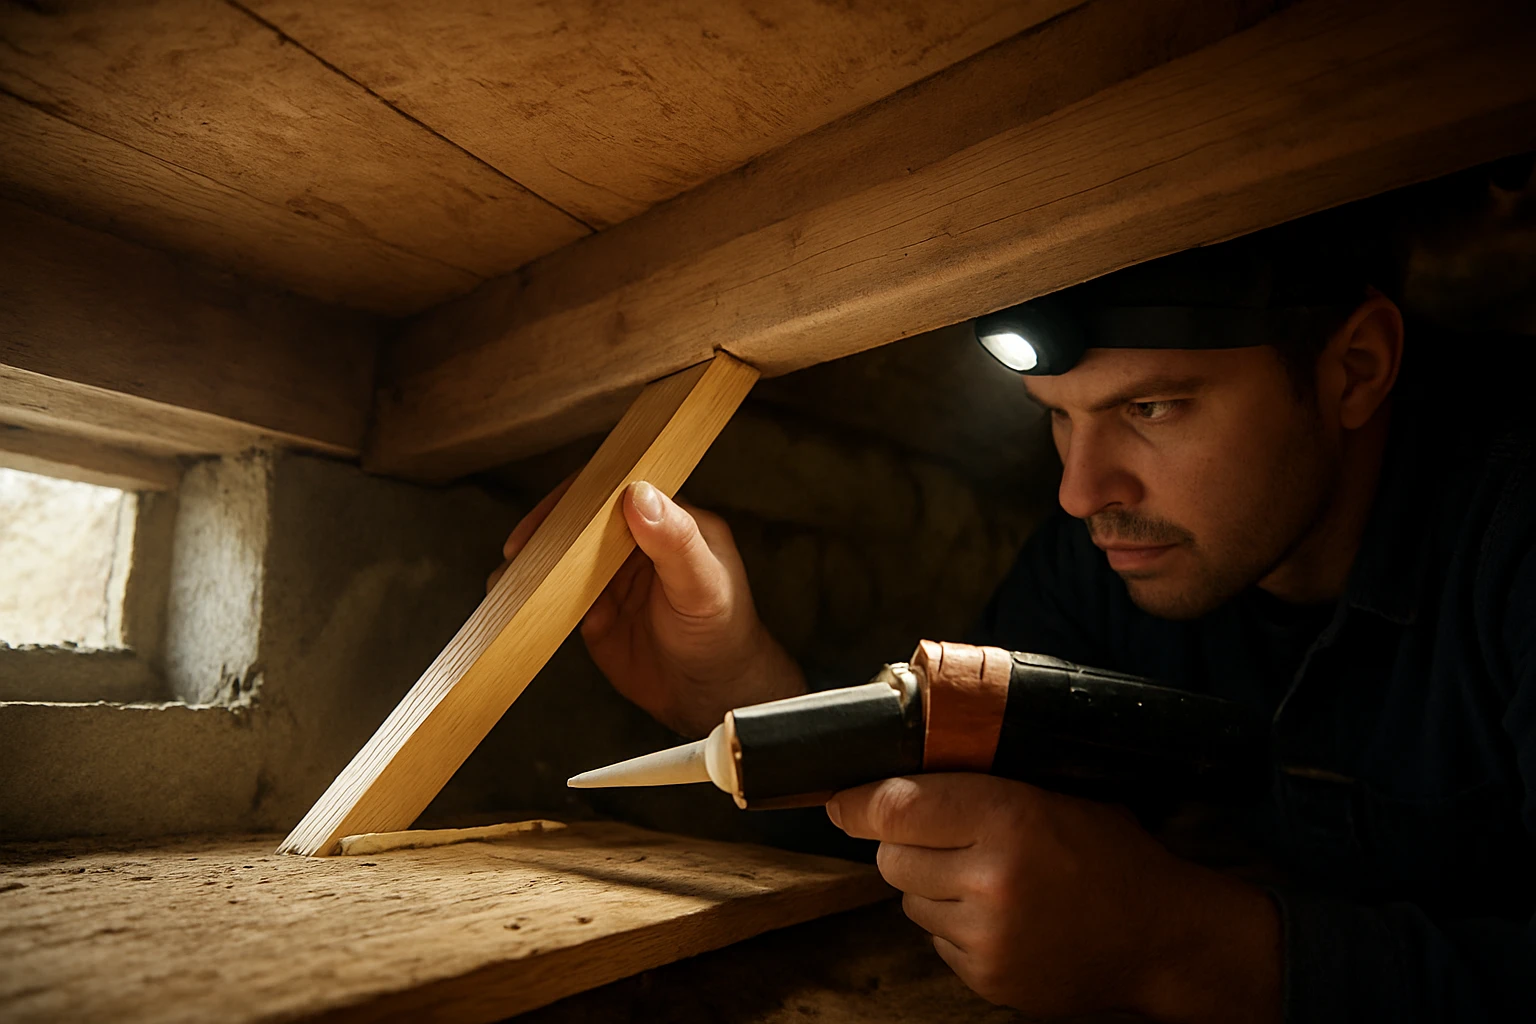
Steps to Fix from Below
- Locate the problem area by pressing the board above while someone listens from below.
- Clean loose debris from the seam and dry the area.
- Place tapered shims between subfloor and joist with construction adhesive to stop movement.
- For large movement, sister a new joist alongside the old one and fasten with bolts.
Materials Needed:
- Shims or thin plywood strips
- Construction adhesive rated for wood-to-wood
- Lag screws or bolts for sistering when required
Using Glue Blocks or Hidden Fasteners
Glue blocks attach under a loose plank at the seam to stop rubbing without showing repair marks, and hidden fasteners are a good option for engineered and SPC floors where screwing the wear layer is not safe.
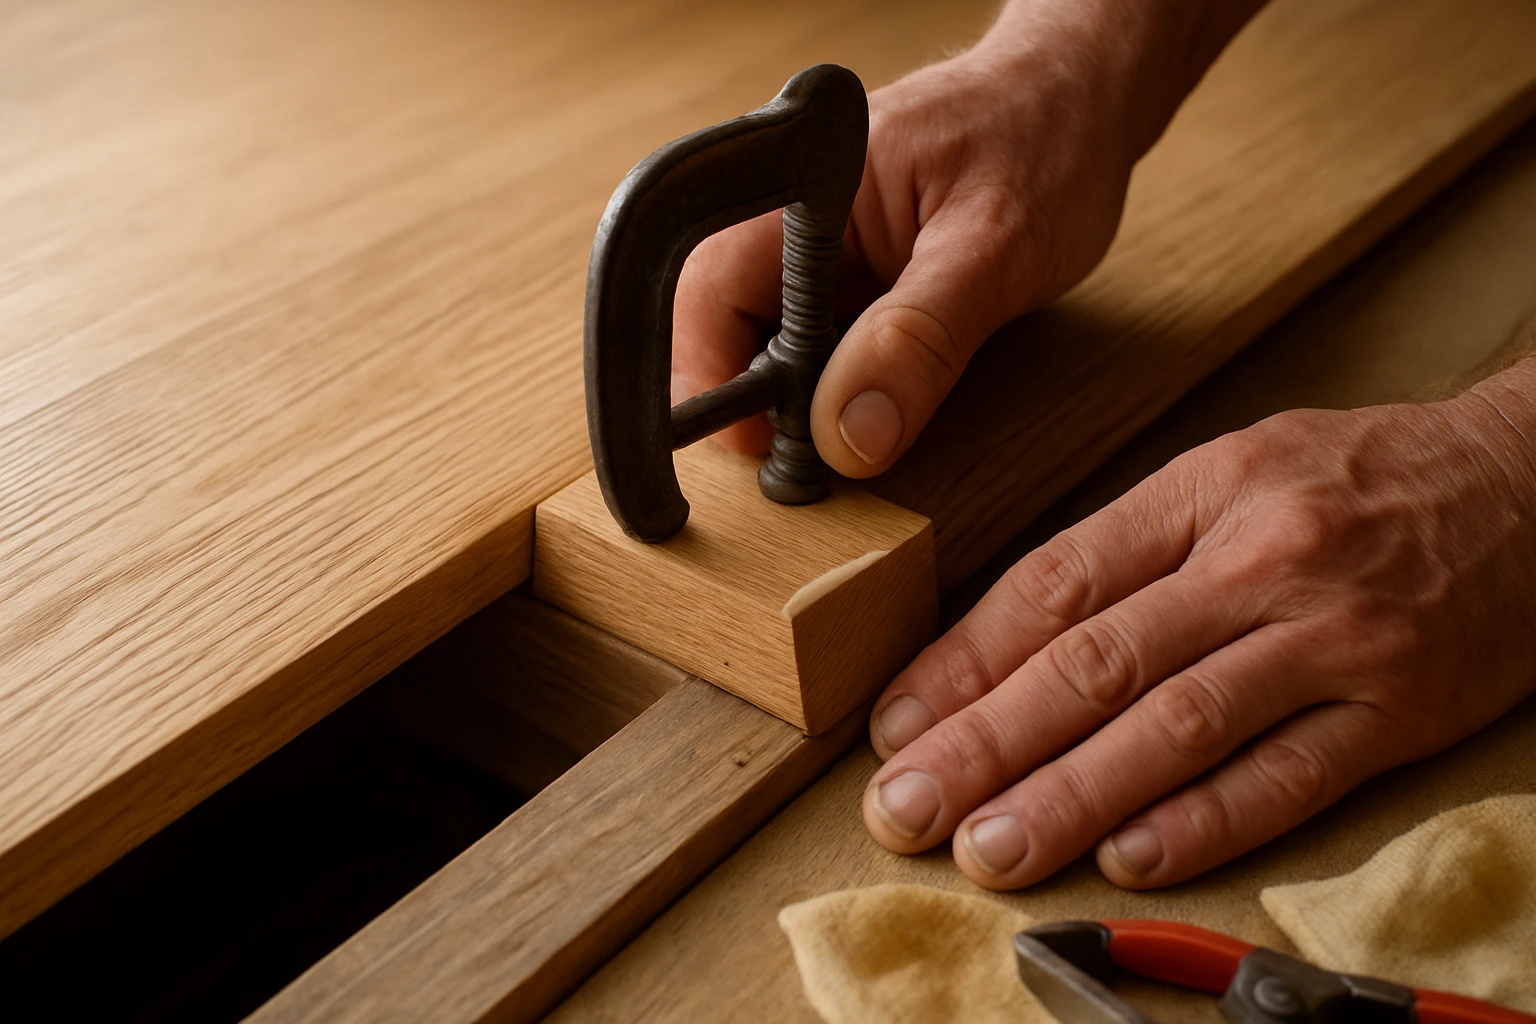
When to Use Glue Blocks
Glue blocks are best for single squeaks where the board still sits close to its original place but rubs against the next plank. They work well under most wood and engineered floors and stay hidden.
Quick Tip:
When using glue blocks, clamp or weight the board until the glue cures so the bond is tight.
How Material Type Changes Your Approach
Different flooring materials behave differently. Use this table to choose the right repair style for each common material.
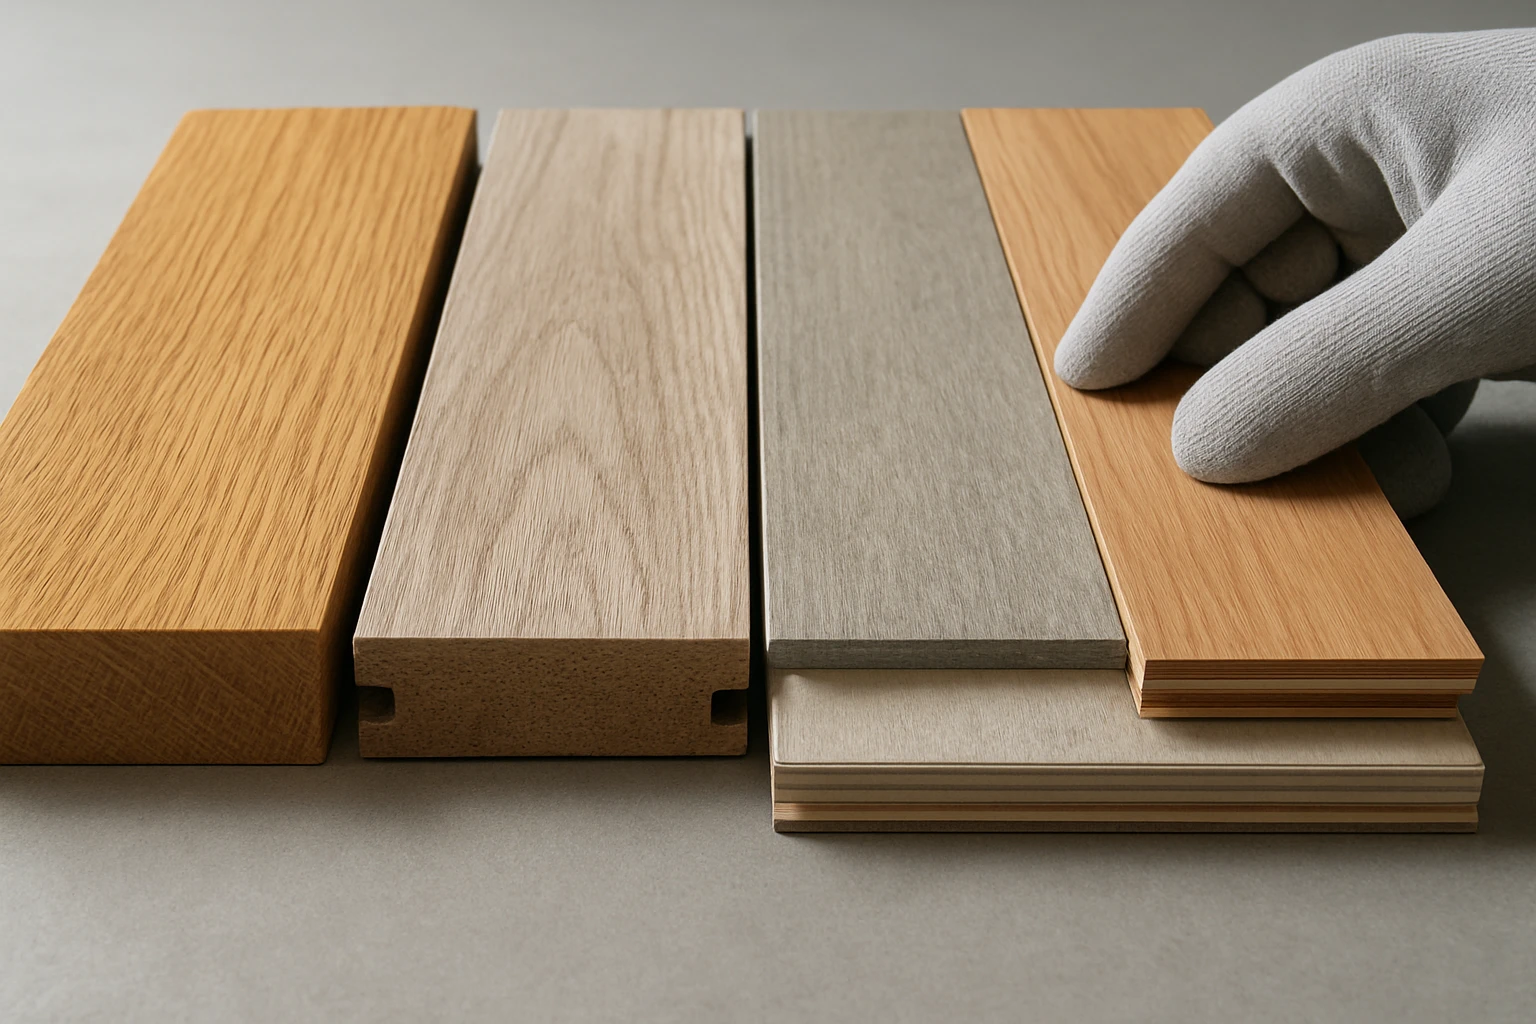
| Material | Typical Cause Of Squeak | Best Repair Approach | Notes |
|---|---|---|---|
| Solid Wood | Loose nails, movement at joist | Screw from above, plug head, or glue block | Can be sanded and refinished afterward |
| Engineered Wood | Wear-layer movement, loose subfloor | Hidden fasteners or glue blocks | Avoid deep screws through the wear layer |
| Laminate | Floating underlayment slip or gap | Re-seat underlayment, add underlayment tape | Do not use surface screws that split laminate |
| SPC / LVT | Subfloor irregularities or loose seams | Re-seat seams, use floor-specific fasteners | Often clicks are at seams rather than boards |
| Parquet | Small blocks shift or come loose | Glue blocks or re-glue damaged blocks | Match finish after repair |
Include links to material pages where useful: learn more about Wooden Flooring and Solid Wood Flooring when your project uses natural wood, or read about SPC Flooring if you have rigid vinyl.
Cost Range and Time Estimates
Here is a practical cost and time table to plan a repair. Prices assume DIY materials bought at retail and basic tools already on hand.
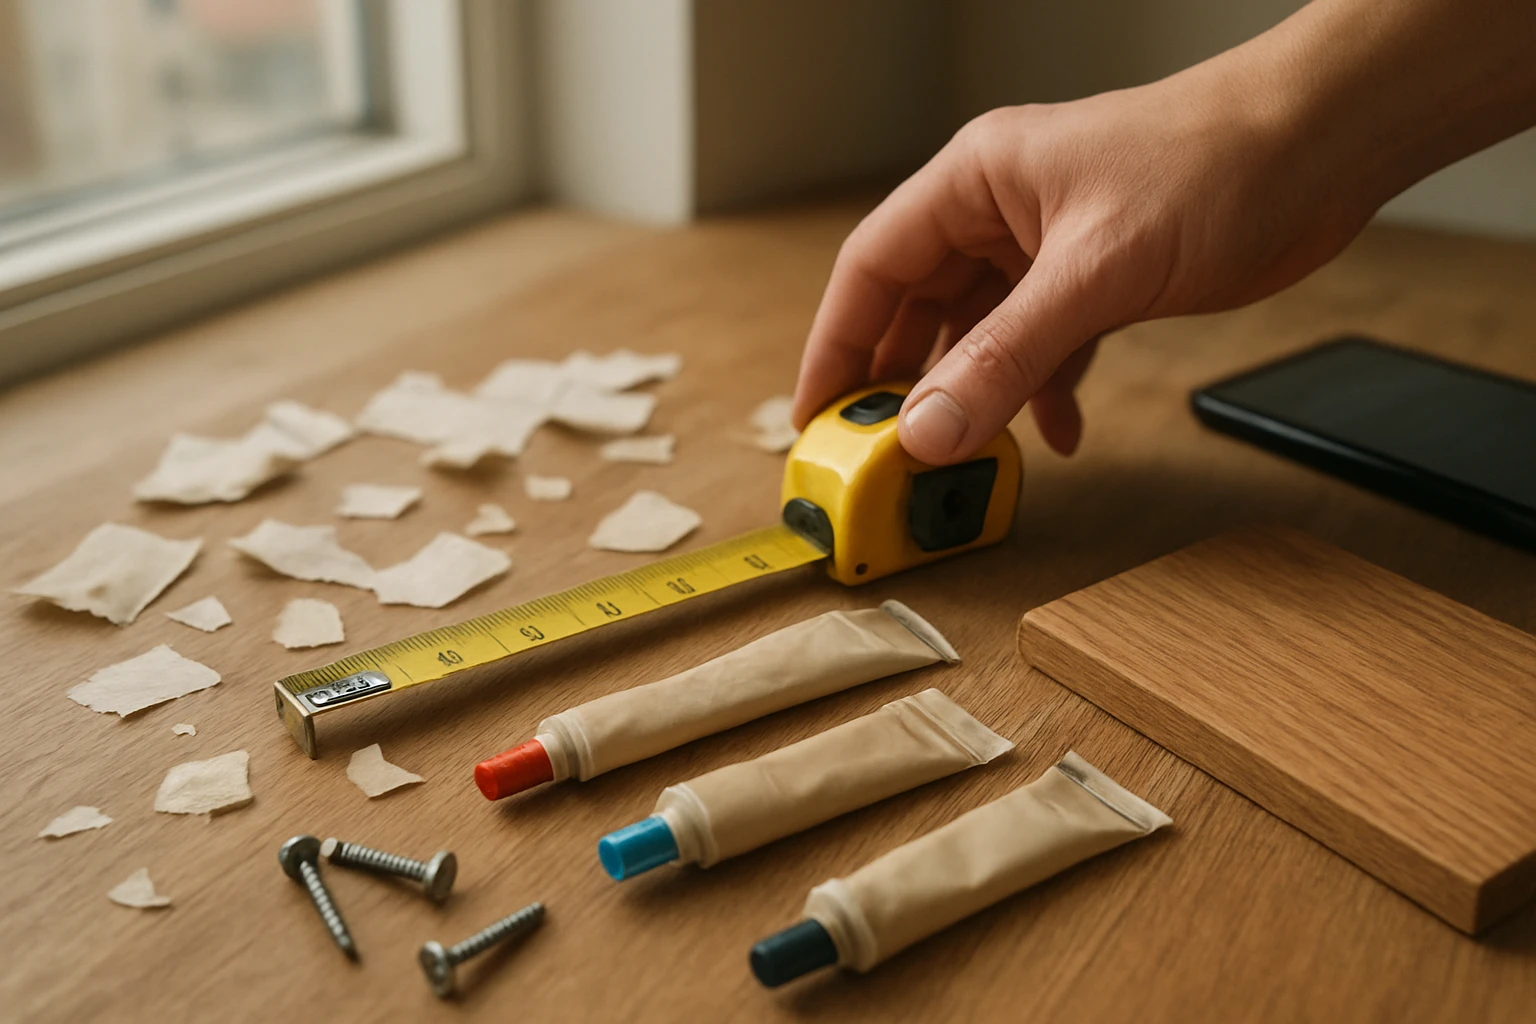
| Repair Type | Typical DIY Cost | Typical Time | When To Hire Pro |
|---|---|---|---|
| Single board screw and plug | $5–$15 | 20–40 min | If many boards or finish matching is hard |
| Multiple glue blocks | $10–$40 | 1–3 hours | If joist work is needed below |
| Below-floor shimming | $5–$25 | 30–90 min | Structural damage or rot present |
| Full subfloor refasten | $150–$800 | Several hours to a day | Widespread movement across room |
For budget planning, check related articles about material prices and installation like How Much Do Flooring Cost in Dubai and the overview on Best Flooring Options to Choose in Dubai to match repair choices to long-term value.
When to Call a Professional
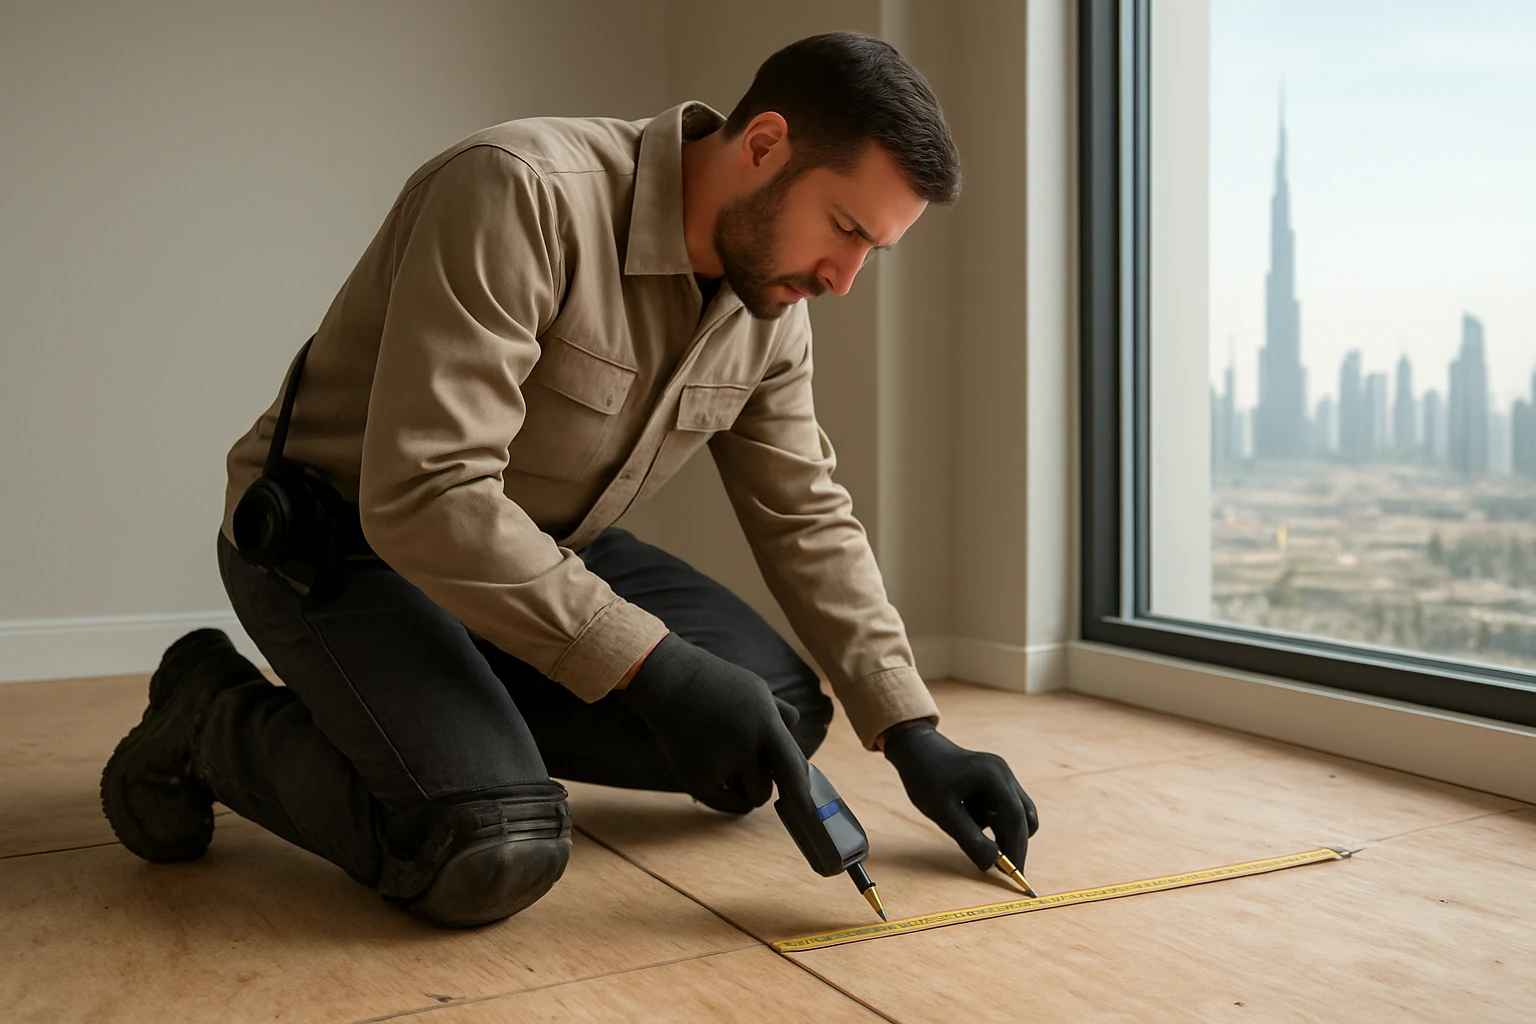
Call a pro when you find rot, termite damage, or widespread movement; when the subfloor is failing in several places; or when you do not have safe access to the underside of the floor. Professionals can also match finishes and refinish whole rooms to hide repairs.
What Pros Usually Do
Pros will check subfloor fasteners, look for rot and insect damage, sister joists if needed, and refinish the surface so repairs blend in. They can also suggest replacing problem areas with more stable modern materials like SPC or vinyl; see SPC Flooring for options.
When Replacement Is Better:
If a single repair will be visible in a way you cannot fix, or the damaged area covers a large section of the room, replacement may be the smarter investment.
Preventing Future Squeaks
Small maintenance steps stop many common causes of squeaks. Inspect floors at least once a year and control humidity to keep materials stable.

- Keep indoor humidity between 35 and 55 percent to reduce wood movement.
- Tighten loose stair nosing and threshold fasteners once a year.
- Avoid sliding heavy furniture; use pads to protect and stabilize large pieces.
- When installing new floors, use proper subfloor fastening and underlayment to minimize future movement.
Quick Repair Checklist Before You Start
This short checklist helps you avoid common errors and plan the work so you do only what is needed and nothing extra.

- Map all squeaks and mark them.
- Confirm access from above or below.
- Match repair to material type.
- Use the shortest effective screw to avoid through-the-top damage.
- Have filler, stain, and sandpaper ready for finishing.
Comparison of Repair Methods at a Glance
This small comparison helps you choose fast: visibility, speed, and permanence matter depending on your goals.
| Factor | Screw From Above | Glue Block | Shim From Below |
|---|---|---|---|
| Visibility | Medium | Low | Hidden |
| Strength | High | Medium-High | High |
| Time | Low to Medium | Medium | Medium |
| Finish Work Needed | Yes | Minimal | None |
Links to Further Reading
For material-specific guidance and cleaning after repairs, see these related posts:
- What Is SPC Flooring and How It Works
- Best Flooring Options to Choose in Dubai
- How Much Do Flooring Cost in Dubai
Final Notes and Practical Observations
Many squeaks come from a few loose nails that only need one or two targeted screws to stop. People often waste time on surface patches without securing the movement below. Start with careful listening, pick the least invasive fix that stops movement, and refinish only after the repair has had time to settle.
If you need help beyond simple fixes, consider a professional evaluation and mention specific materials like solid wood or SPC so the pro brings the right tools and materials.
Frequently Asked Questions
What Is the Fastest Way to Stop a Single Squeaky Floorboard?
The fastest way is to locate the joist beneath, then drive a countersunk wood screw through the board into the joist and fill the hole. That tightens the board and usually stops the noise in one step.
Can I Fix Squeaks on Engineered or SPC Floors the Same Way as Solid Wood?
No. Engineered and SPC floors have thinner wear layers or locking systems, so use hidden fasteners, glue blocks, or manufacturer-recommended clips. Avoid long screws that pass through the wear layer.
Is It Safe to Use Glue Blocks Under Old Floorboards?
Yes, glue blocks are safe if you use a strong wood glue or construction adhesive and clamp or weight the board until the glue cures. They are a good hidden fix that does not change the surface.
When Should I Call a Professional for a Squeaky Floor?
Call a pro if you find rot, many squeaks across a large area, signs of insect damage, or if joists need sistering. A pro can assess structure, fix safely, and match finishes.
Will Controlling Humidity Stop All Floor Squeaks?
Controlling humidity helps reduce seasonal movement but will not fix loose fasteners or structural issues. It prevents new movement but does not repair existing loose boards.