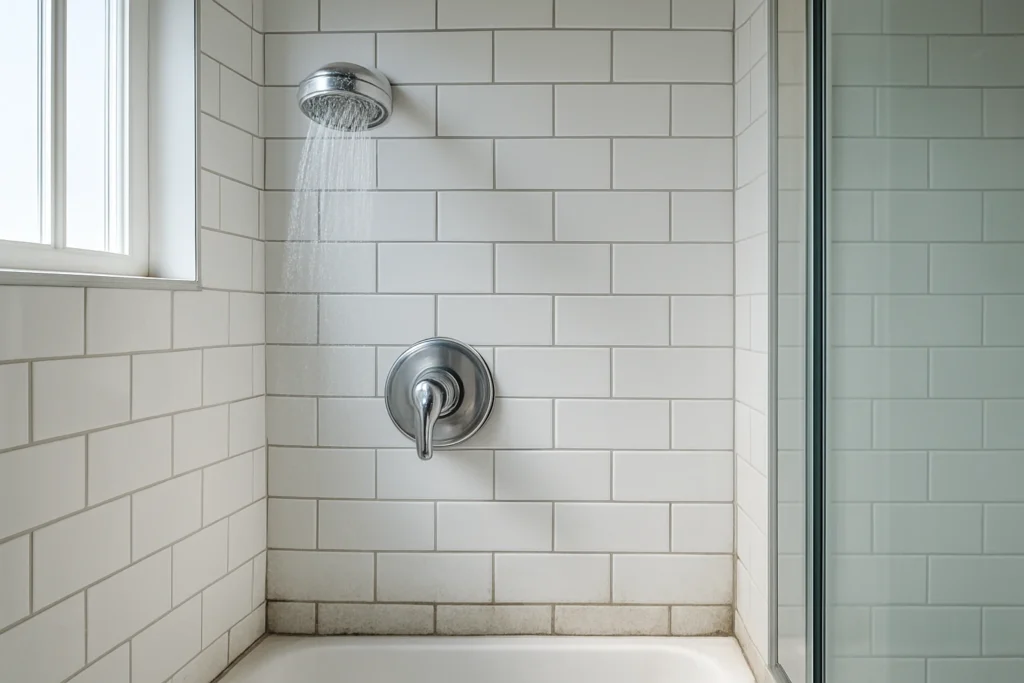
Clean shower tiles by removing loose soap and hair, applying a suitable cleaner, scrubbing grout lines, rinsing well and drying to stop mold. Regular light cleaning and a quarterly deep clean keep tile and grout in good condition and reduce the need for harsh chemicals.
Key Statistics
- Mold and mildew can begin to grow on damp surfaces within 24 to 48 hours.
- A short weekly wipe takes 5 to 10 minutes and cuts deep clean time by up to 50%.
- Many grout stains respond within 10 to 20 minutes to a baking soda paste or oxygen bleach soak.
What Makes Shower Tiles Hard to Clean
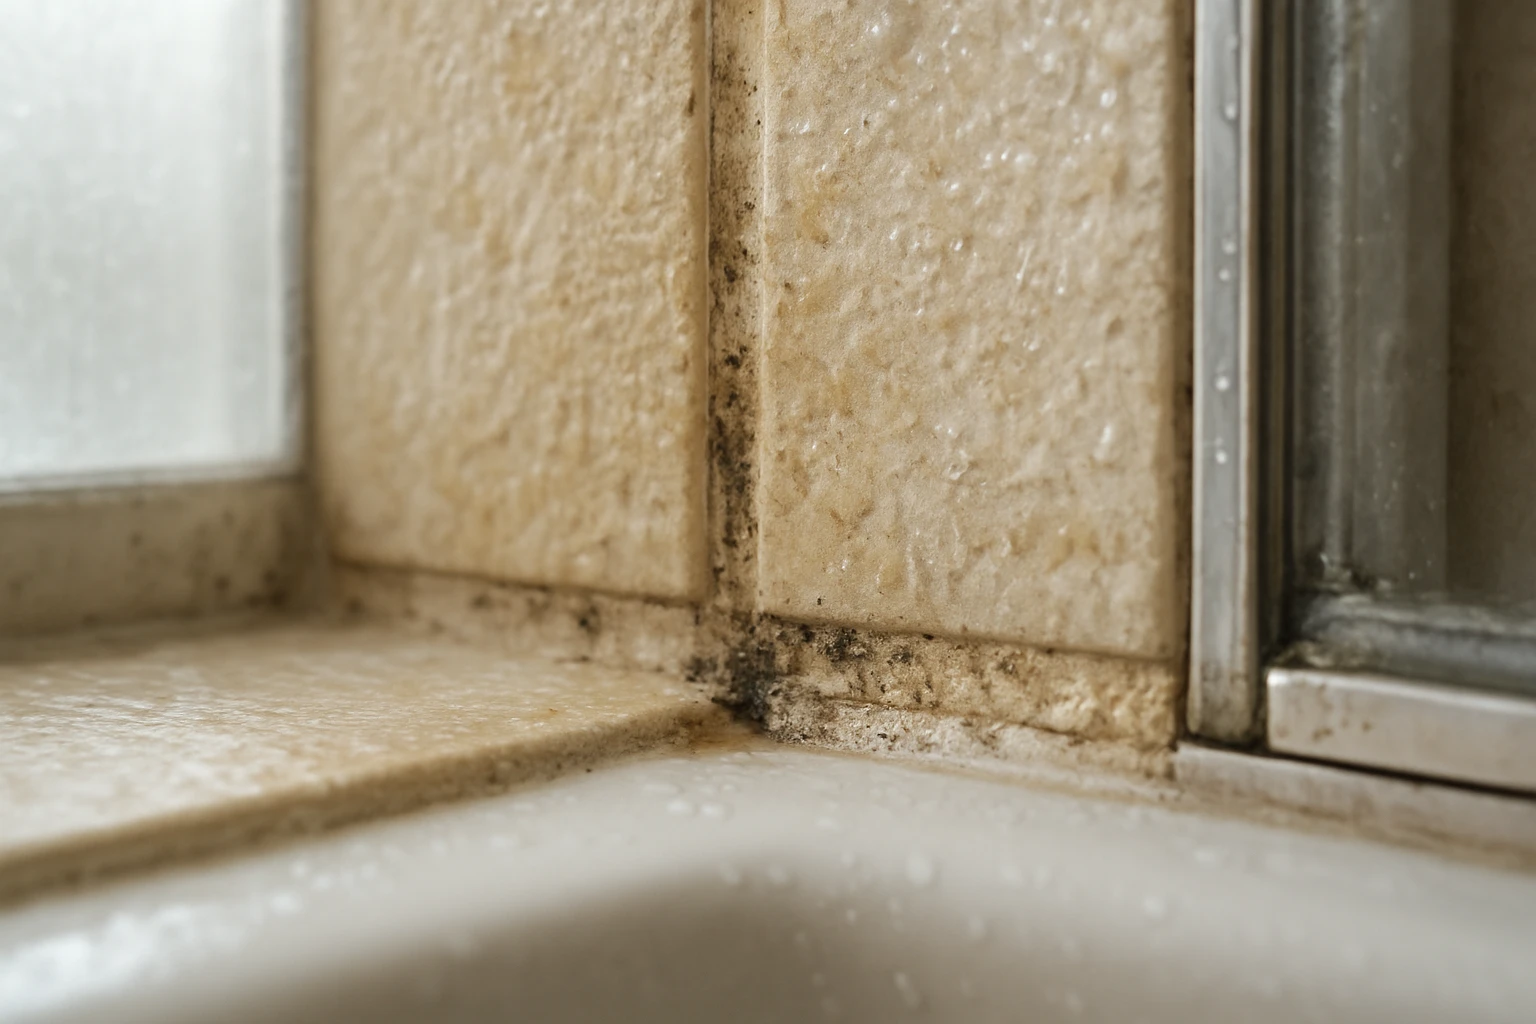
Tile faces look smooth, but grout lines and textured finishes trap soap scum, body oils and minerals from hard water. Those trapped residues feed mold and mildew. Grout soaks up moisture and dirt, so it looks dirty faster than the tile face. Areas that stay wet the longest, like corners and the bottom edge of glass doors, usually show staining and mold first.
Tools and Supplies You Will Need
A small set of basic tools and a few gentle cleaners will handle most jobs and keep costs low. Start with common items and move to stronger products only if needed.
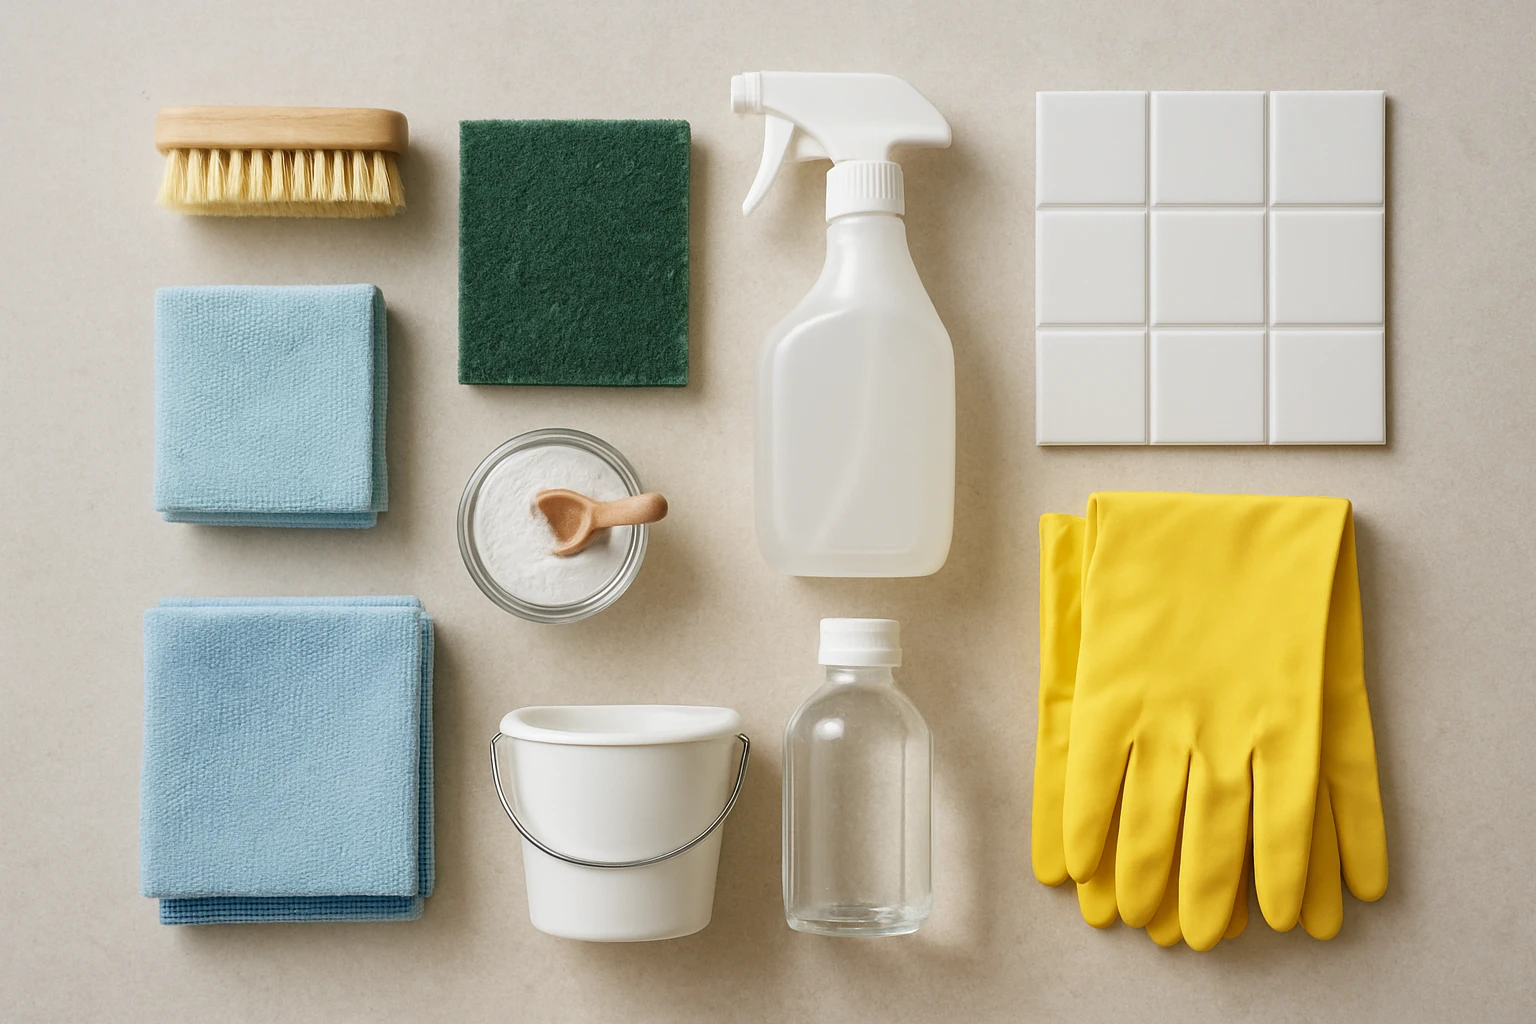
Key items to have:
- A stiff nylon grout brush or an old toothbrush.
- Microfiber cloths and a non-scratch scrub pad.
- A squeegee for daily use.
- Rubber gloves and ventilation if you use stronger cleaners.
- Supplies: mild dish soap, white vinegar, baking soda, oxygen bleach (sodium percarbonate), and a pH-neutral tile cleaner for finished stone.
Daily and Weekly Care Routines
Small, steady actions reduce the need for hard scrubbing later and take very little time.
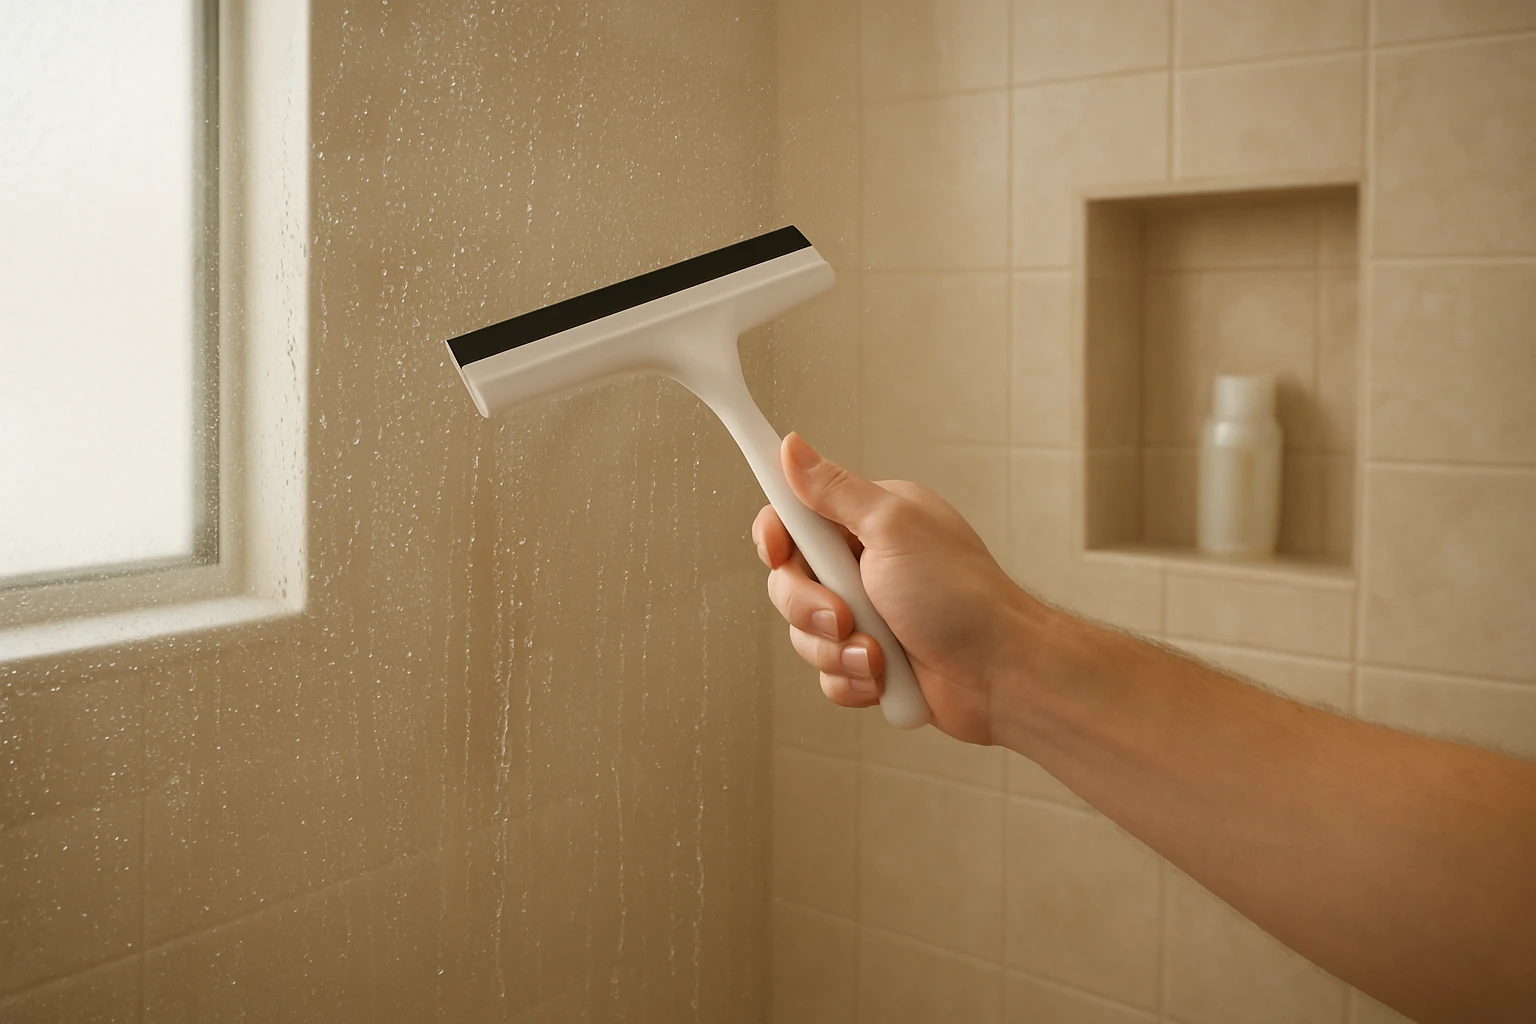
Daily habits:
- Rinse walls and floor after each shower to remove soap and shampoo residue.
- Squeegee glass and tile walls to cut water spots and soap film.
- Keep ventilation on or open a window to speed drying.
Weekly tasks:
- Spray tiles with a mild cleaner or a 1:1 mix of white vinegar and water, let sit 5 minutes, then wipe.
- Check grout lines and scrub any dull or discolored spots for 2 to 5 minutes.
- Wipe fixtures and corners where water pools.
Step-By-Step Deep Clean for Shower Tiles
A deep clean removes built-up soap scum and grout stains. Plan 30 to 60 minutes depending on how dirty the shower is.
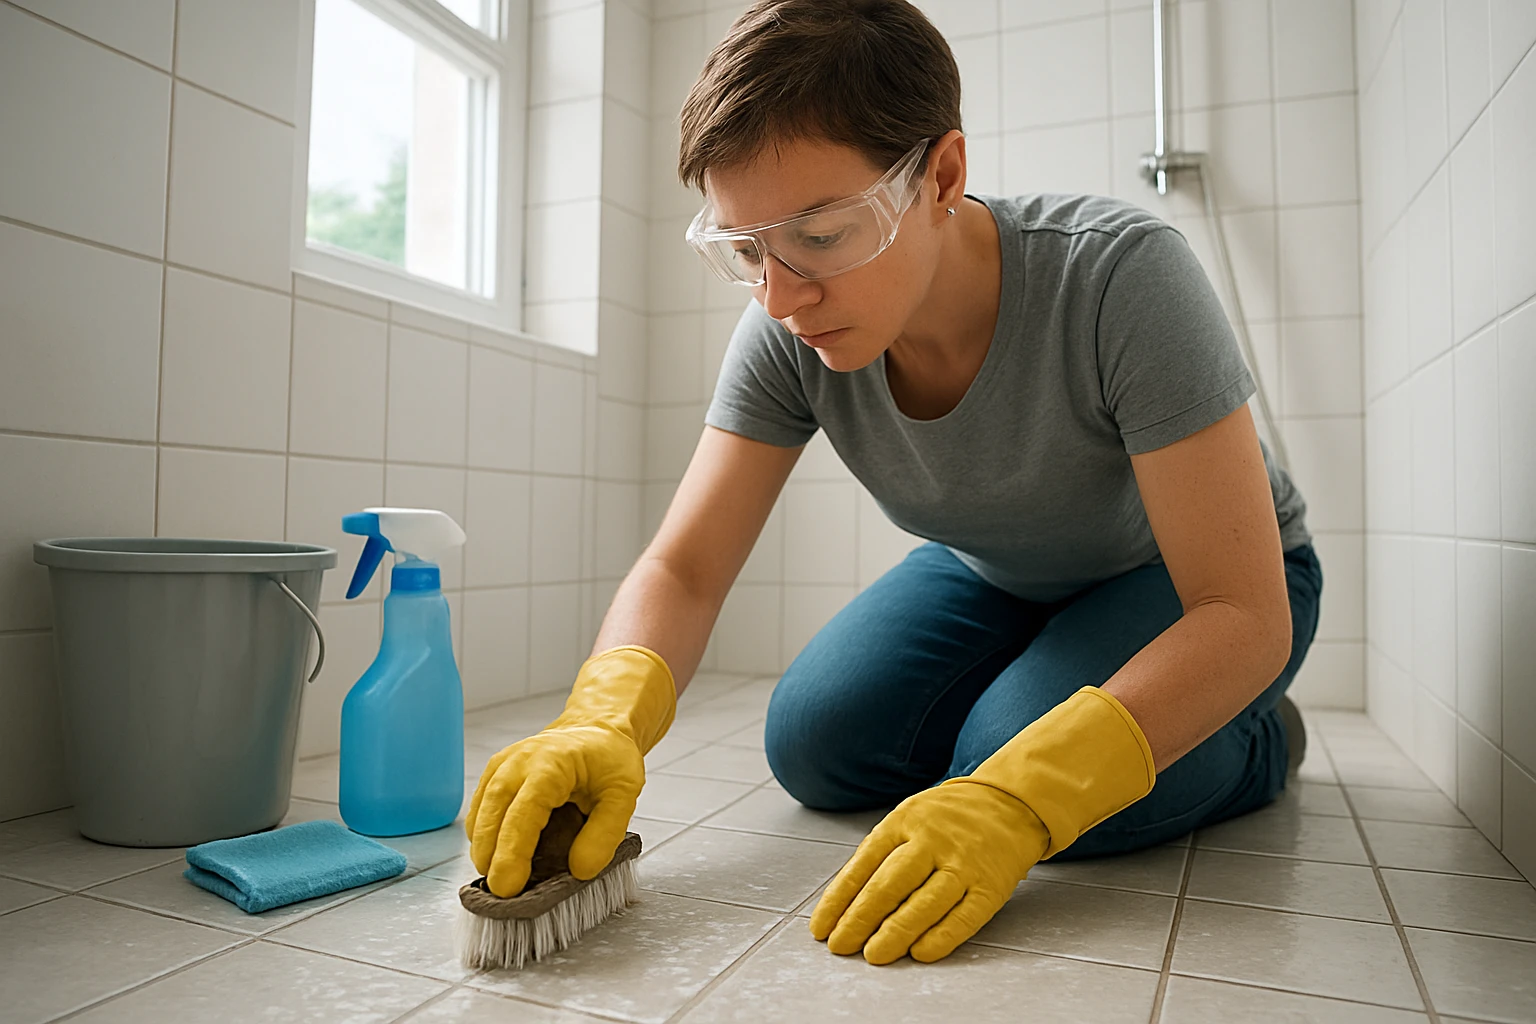
Prep and Safety
- Ventilate the room by opening a window or running an exhaust fan.
- Wear gloves and eye protection if using bleach or concentrated cleaners.
- Remove shampoos, razors and bottles so you can reach all tiles.
Tool Checklist:
- Stiff nylon grout brush or old toothbrush
- Scrubbing pad (non-scratch)
- Microfiber cloths and sponge
- Bucket, warm water and rubber gloves
Clean Step Sequence
Follow these steps in order so each action helps the next one work better.
Prep Steps:
- Rinse the shower to loosen surface grime.
- Apply a mild degreasing spray or a 1:1 white vinegar and water mix to areas with soap film and mineral deposits. Let it sit for 5 to 10 minutes.
Deep Clean Steps:
- For general tile, sprinkle baking soda on a damp sponge and scrub the grout and tile in a circular motion. Baking soda is slightly abrasive and lifts stains without harsh chemicals.
- For stubborn grout stains, make a paste with baking soda and water, apply to grout lines, let sit 10 to 20 minutes, then scrub with the grout brush.
- For mold or black mildew spots, use an oxygen bleach solution (follow label directions) or a diluted bleach spot treatment. Apply just to the affected area, wait the recommended time, then rinse thoroughly. Avoid full-bleach floods unless the tile manufacturer allows it.
Rinse and Dry:
- Rinse all surfaces with warm water until no cleaner remains.
- Use a squeegee and then wipe tile and grout with a dry microfiber cloth to remove excess moisture.
How Often to Deep Clean
- Lightly used showers: deep clean every 3 months.
- Heavy use or shared family showers: deep clean every 1 to 2 months.
- If you see black spots or persistent staining, treat those areas as soon as you notice them.
Removing Mold and Mildew Safely
Black mold on grout looks alarming, but small patches can be removed without heavy chemicals if you act quickly. Wear gloves and keep the room ventilated to avoid breathing spores.
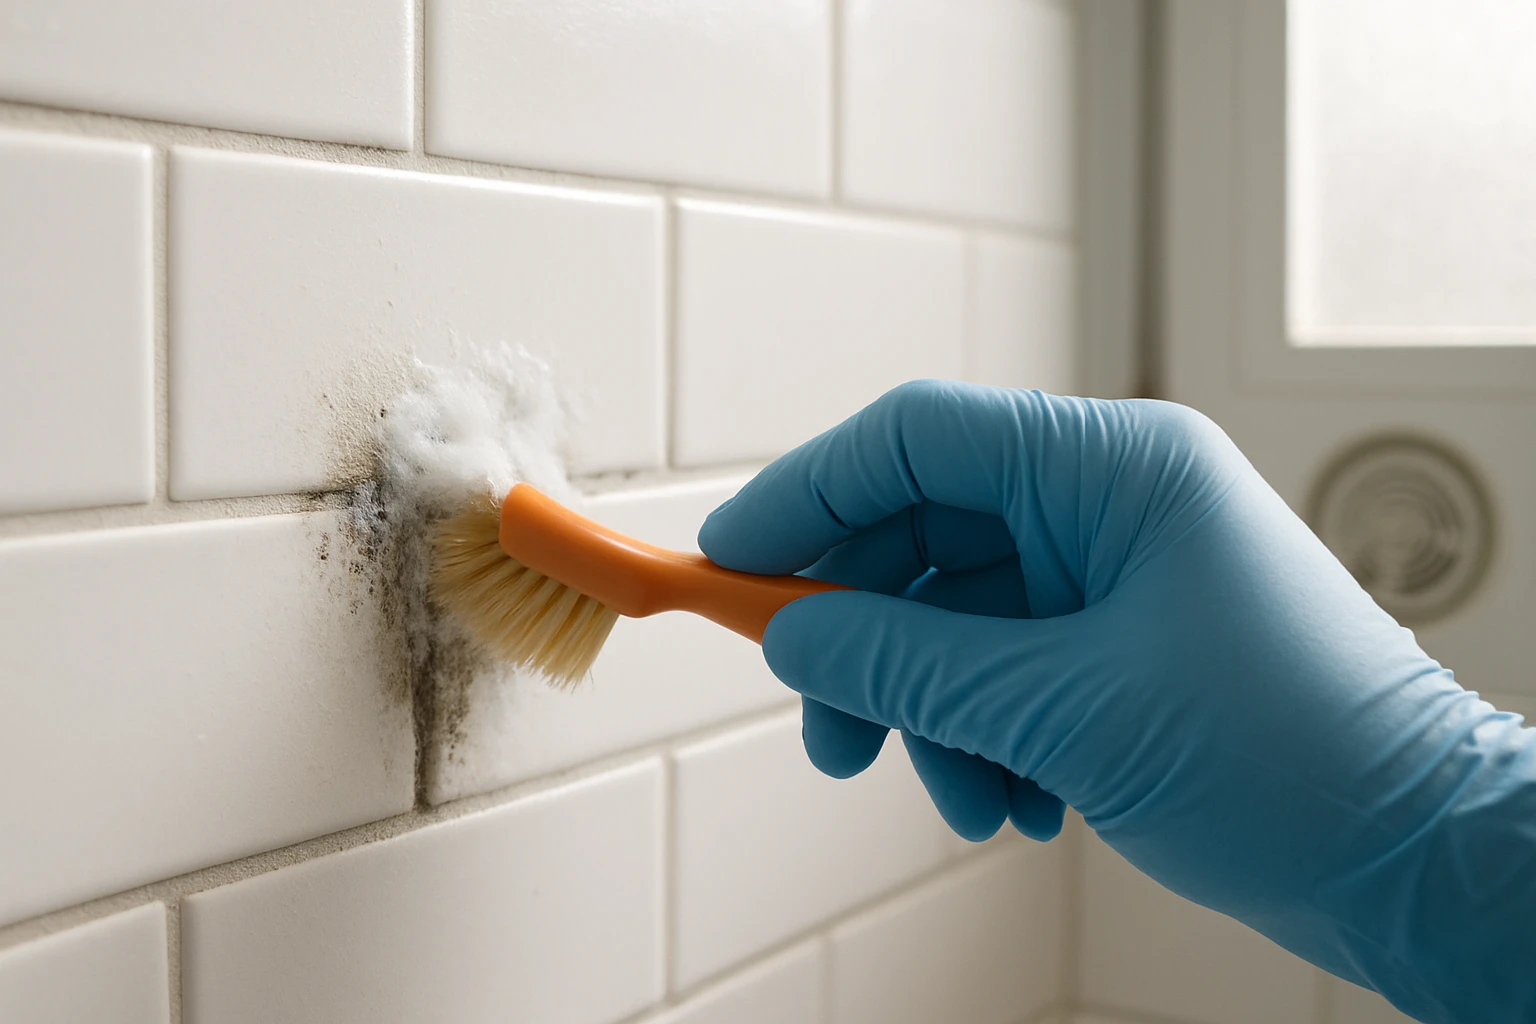
What to use:
- Oxygen bleach (sodium percarbonate) is effective and safer for regular use because it breaks down into oxygen and water.
- For very small spots, a 3% hydrogen peroxide application can help.
- Use household bleach only as a spot treatment and rinse well. Do not mix bleach with vinegar or ammonia.
When to call a pro:
- Large, spreading mold patches that return after cleaning.
- Mold that is inside walls, under tile, or linked to a leak.
In those cases, hire a mold remediation specialist because surface cleaning will not fix the moisture source.
Natural Cleaners Versus Commercial Products
Natural cleaners are gentle and work well for routine care. Many commercial cleaners are made for tough mineral deposits or heavy soap scum. Choose products that match your tile type and the problem you are fixing.
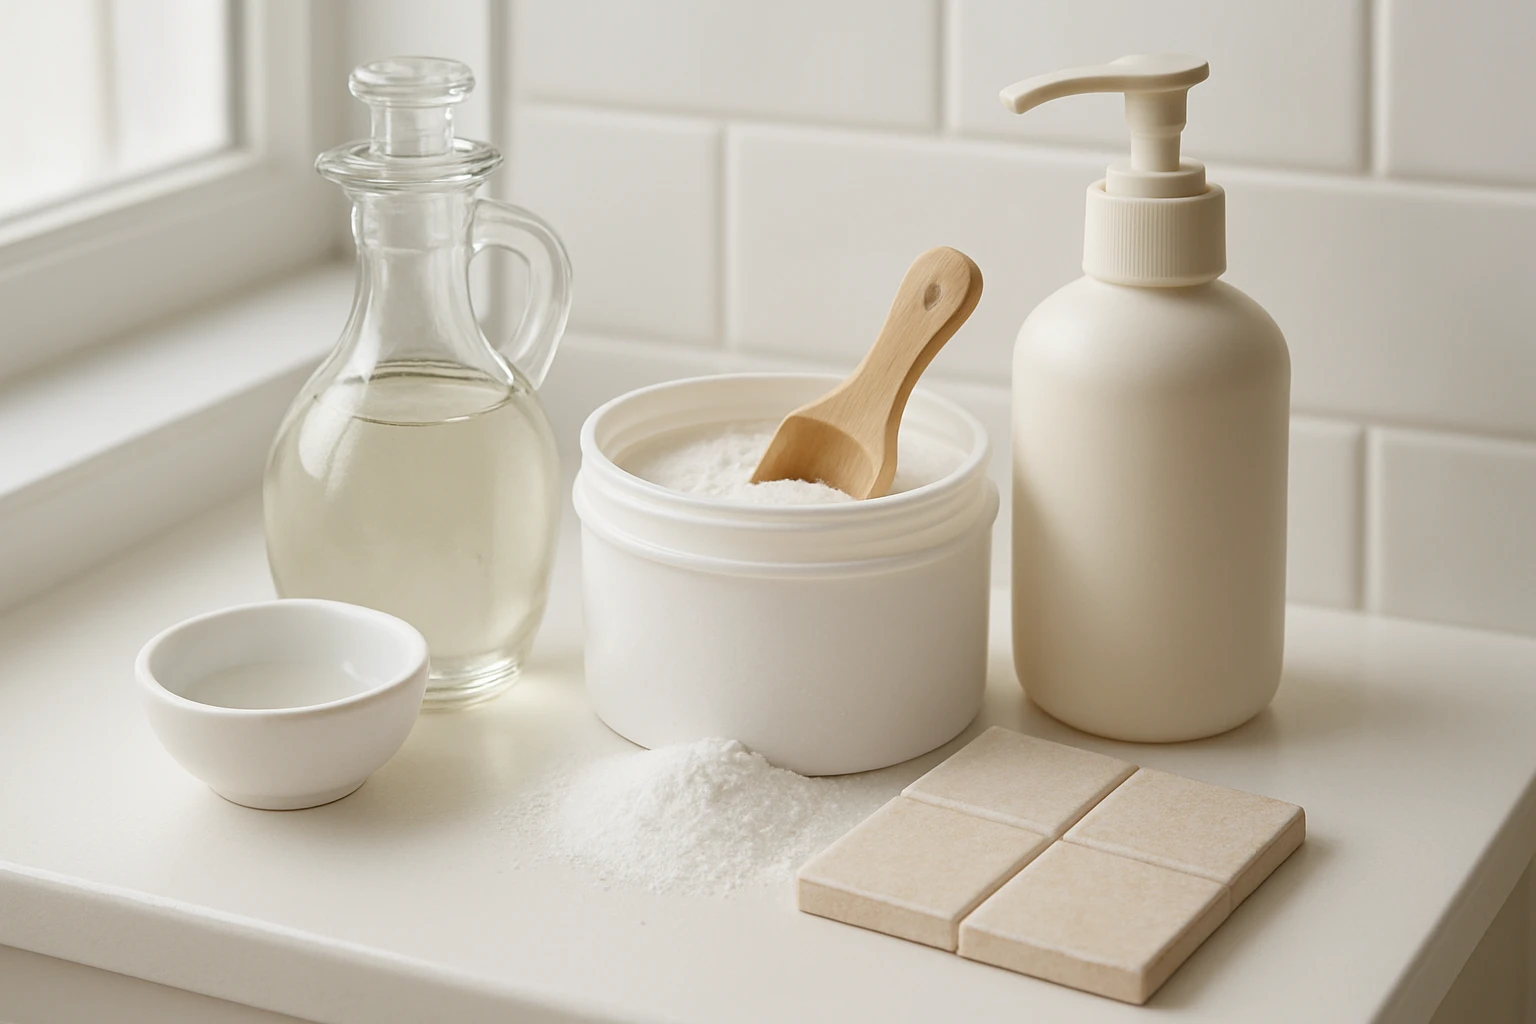
Cleaner comparison table:
| Cleaner | Effectiveness | Safety For Most Tiles | Best Use |
|---|---|---|---|
| White vinegar (diluted) | Good for soap scum | Safe for glazed ceramic and porcelain | Weekly wipe-downs |
| Baking soda | Good for light stains | Safe and mildly abrasive | Grout paste for stains |
| Oxygen bleach | Very good for organic stains | Safer than chlorine bleach for regular use | Mold, mildew, grout brightening |
| Chlorine bleach | Very good for mold but harsh | Can damage colored grout and some stone | Spot treatment only |
| pH-neutral tile cleaner | Good for by-hand maintenance | Safe for natural stone and sealed tiles | Finished stone, sealed porcelain |
If you have natural stone such as marble, travertine or limestone, avoid acidic cleaners like vinegar because they can etch the surface. For finished stone, choose a pH-neutral cleaner.
Grout Repair and Sealing
Grout that is cracked or missing needs repair before sealing. Sealers add a water barrier that slows staining and mold growth.
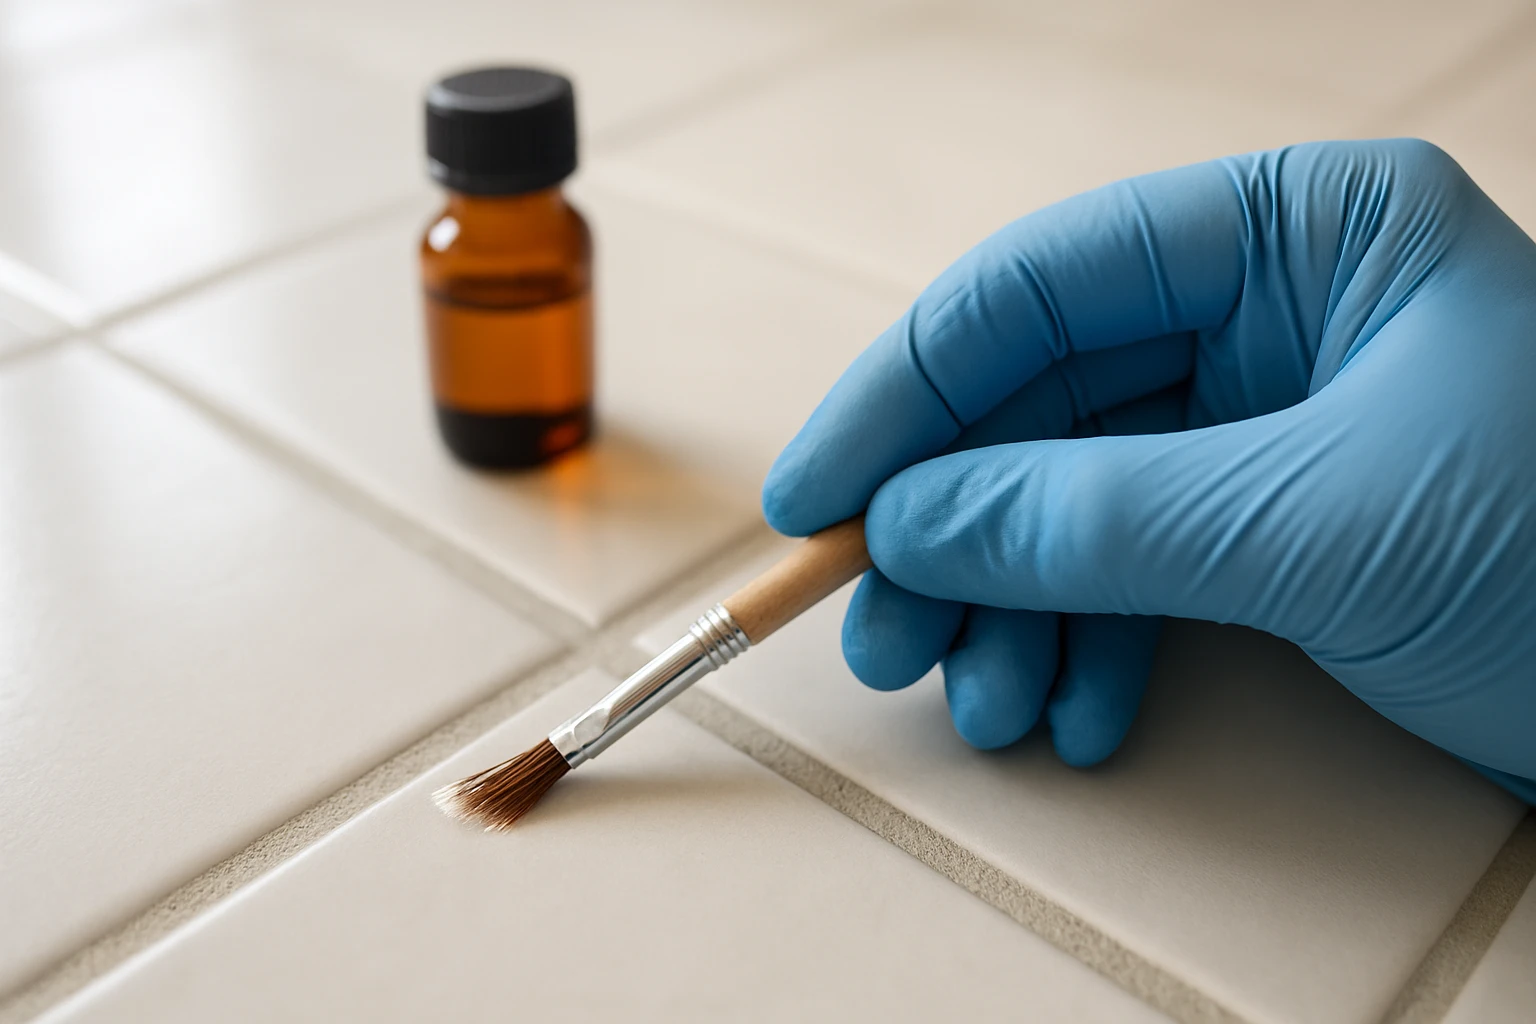
When to seal:
- After a deep clean and full drying, test a small area with a few drops of water. If the water soaks in, the grout will benefit from a sealer.
- Reapply grout sealer every 1 to 3 years depending on wear.
How to repair:
- Remove loose grout with a grout saw, clean the gap, and apply new grout. Let it cure fully before sealing.
Water Hardness, Soap Scum and Mineral Stains
Hard water leaves mineral deposits that trap soap and form a stubborn film. A simple test is to wipe a tile with vinegar; if mineral scale softens, you have hard-water buildup.
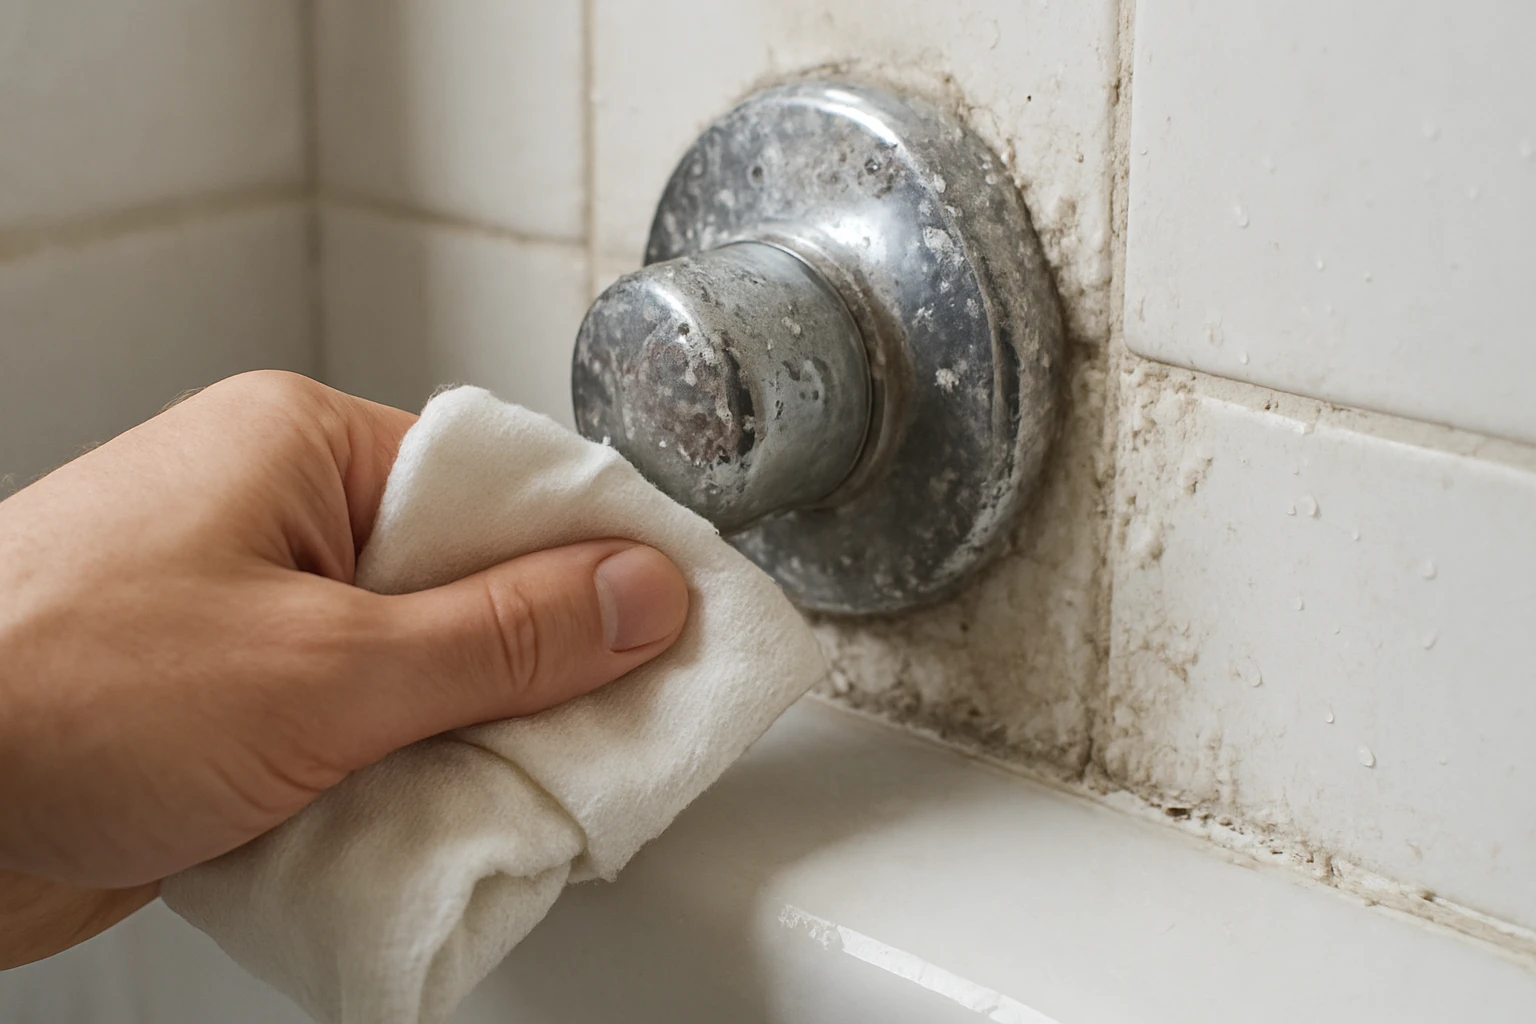
Treatment tips:
- Use a vinegar soak or a commercial limescale remover on tough mineral spots, but avoid these on natural stone.
- Install a water softener if mineral scale is a recurring problem. That reduces scale on fixtures and tile over time.
Cost and Time Comparison
A short budget table shows typical time and cost to clean a single shower for different methods.
| Method | Typical Time | Typical Cost (materials) | Notes |
|---|---|---|---|
| Quick weekly wipe | 5 to 10 minutes | Under $1 per session | Cuts deep clean time later |
| Home deep clean (DIY) | 30 to 60 minutes | $5 to $15 per use | Baking soda and oxygen bleach low cost |
| Commercial cleaner session | 30 to 45 minutes | $8 to $25 per bottle | Good for mineral deposits |
| Professional cleaning | 1 to 2 hours | $80 to $250 | Best for very large jobs or repairs |
Common Mistakes and How to Avoid Them
A common mistake is using acid cleaners on natural stone because they etch the surface and leave dull spots. Another is scrubbing grout with wire brushes that break down grout and make it crumbly. Treat problems quickly and use the right tool to prevent long-term damage.
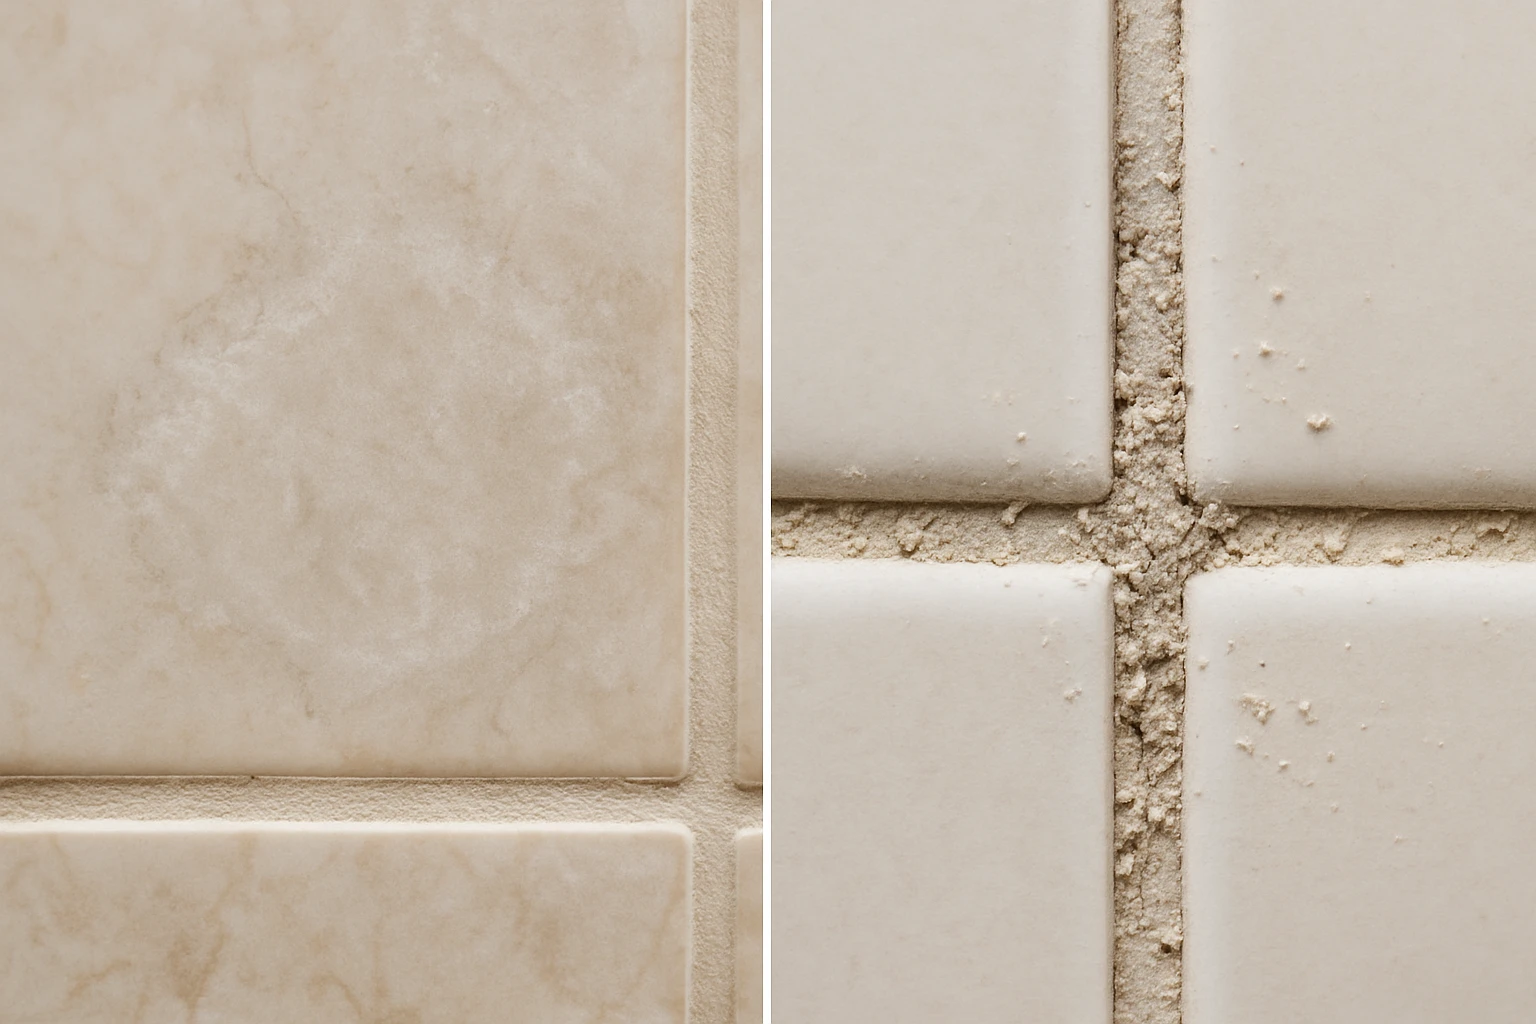
When not to use certain cleaners:
- Do not use vinegar on marble, limestone or travertine.
- Avoid chlorine bleach on colored or older grout except as a small spot treatment.
- Do not mix cleaners; mixing bleach with vinegar or ammonia releases dangerous gases.
If you are unsure about your tile type, check manufacturer instructions or test a small hidden area first.
Tile Choices and Bathroom Flooring Notes
If you are renovating, pick a tile and grout that match your lifestyle and cleaning preferences. For example, large-format tiles mean fewer grout lines, which usually means less visible dirt. If you are considering other flooring types for a bathroom, read about related cleaning methods for similar surfaces in the site’s posts on How to Clean Vinyl Flooring Safely and Easily and How to Clean Laminate Flooring Safely and Effectively.
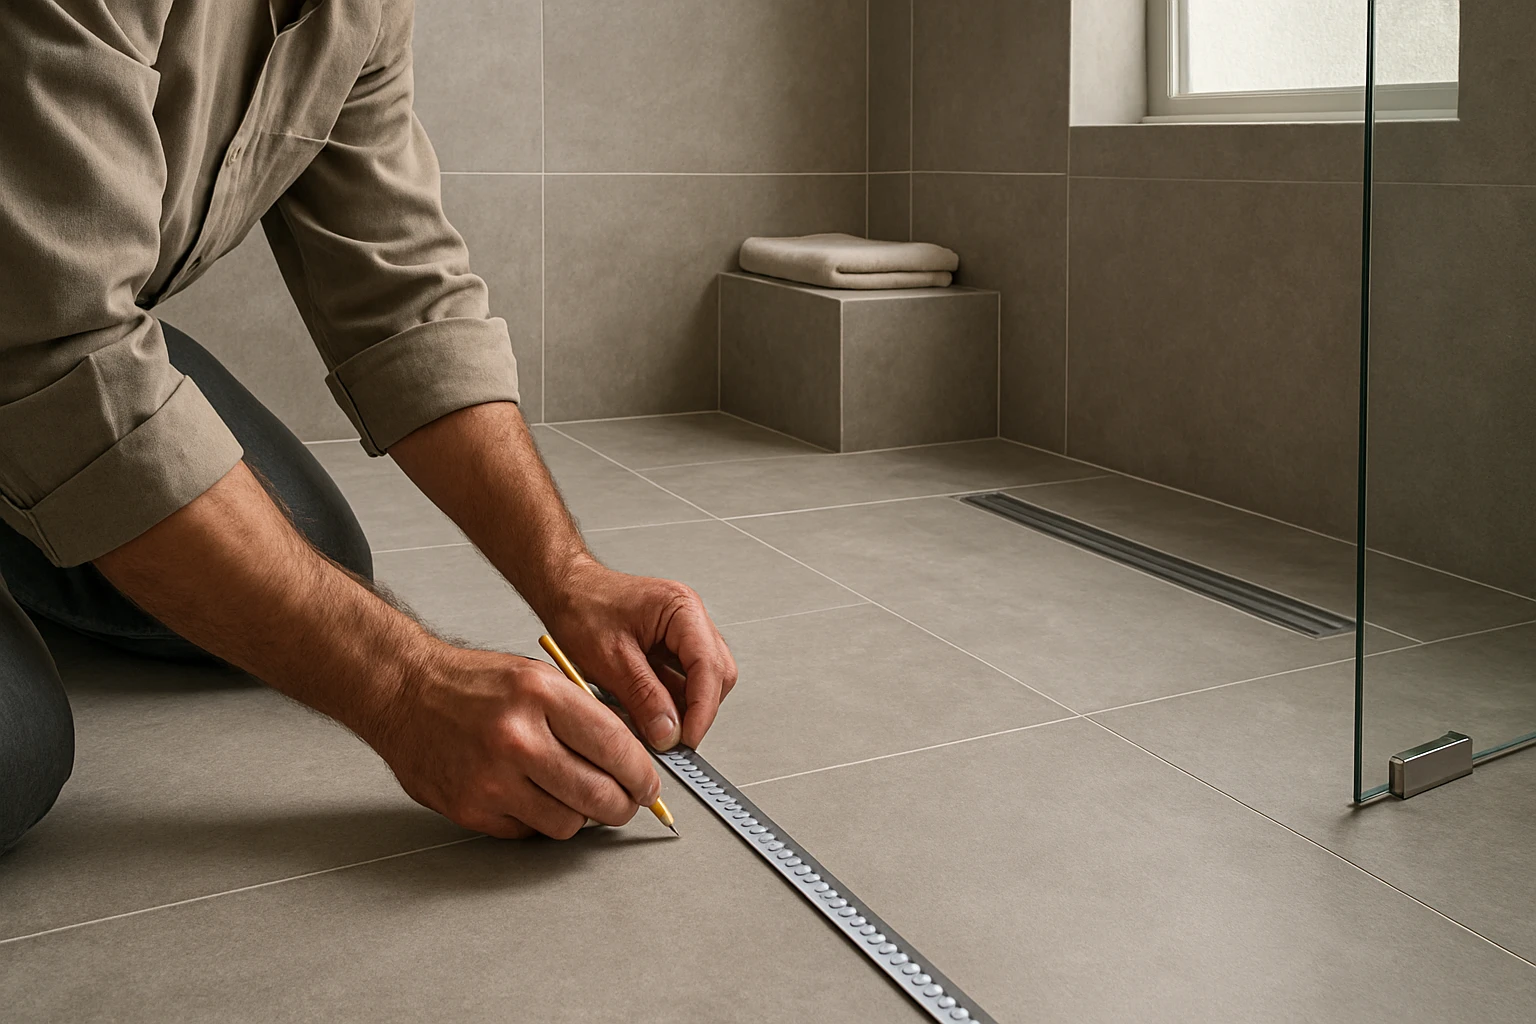
For new home owners, Floorlands.ae can help with product choices and installation advice tailored to humid climates and high-use baths.
Final Care and Prevention Tips
Do a quick check weekly and act on small stains before they set. Keep ventilation working, use a squeegee after showers and choose sealers and cleaners that match the tile type. Over time these habits save time and money and keep tile looking new.
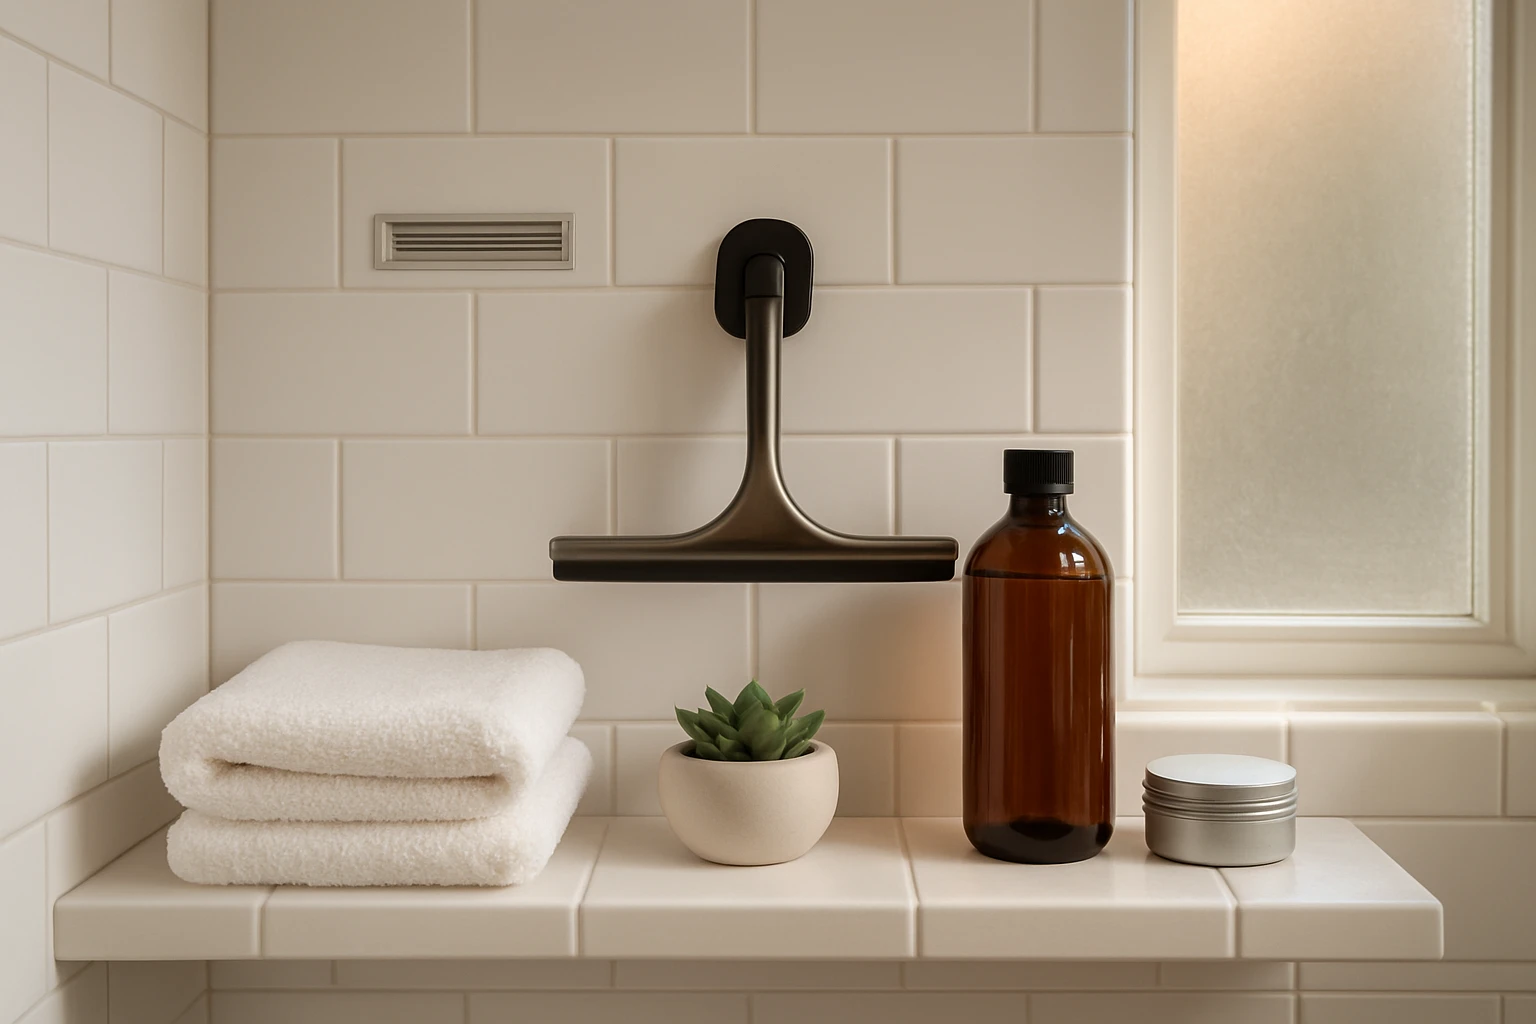
If a problem keeps returning, check for leaks or poor ventilation first because cleaning alone will not stop mold caused by persistent moisture.
Frequently Asked Questions
How Often Should I Clean Shower Tiles?
Wipe down tiles and squeegee glass after each shower if possible, do a light clean weekly, and perform a deep clean every 1 to 3 months depending on use.
Can I Use Vinegar on My Shower Tiles?
Vinegar works well on glazed ceramic and porcelain for soap scum and mineral spots, but avoid vinegar on natural stone like marble or travertine because it can dull or etch the surface.
What Is the Safest Way to Remove Black Mold from Grout?
For small patches use oxygen bleach or hydrogen peroxide applied directly to the spot, allow it to sit per the product instructions, scrub gently, and rinse. For large or recurring mold call a professional to find and fix the moisture source.
Will Baking Soda Damage Tile or Grout?
Baking soda is mildly abrasive and safe for glazed tile and grout when used as a paste and rinsed off. Avoid aggressive scrubbing on soft or damaged grout to prevent wear.
Should I Seal My Grout After Cleaning?
Yes, after a deep clean and full drying, sealing grout helps stop water and dirt from penetrating and is recommended every 1 to 3 years depending on traffic and moisture.
How Do I Remove Hard Water Stains Without Harsh Chemicals?
Try a vinegar and water spray or a vinegar soak on mineral deposits for porcelain and ceramic tiles. For heavy scale use a commercial limescale remover labeled safe for your tile type or consider a water softener to reduce future buildup.